In today’s world, it’s essential that companies have security measures in place to keep their data and assets safe. This includes not just physical assets, but also digital content and information. One of the most common security measures is access control, which allows administrators to control who has access to what. In this blog post, we will explore access control in Swift and how it can help your organization keep its data safe.
What is Access Control?
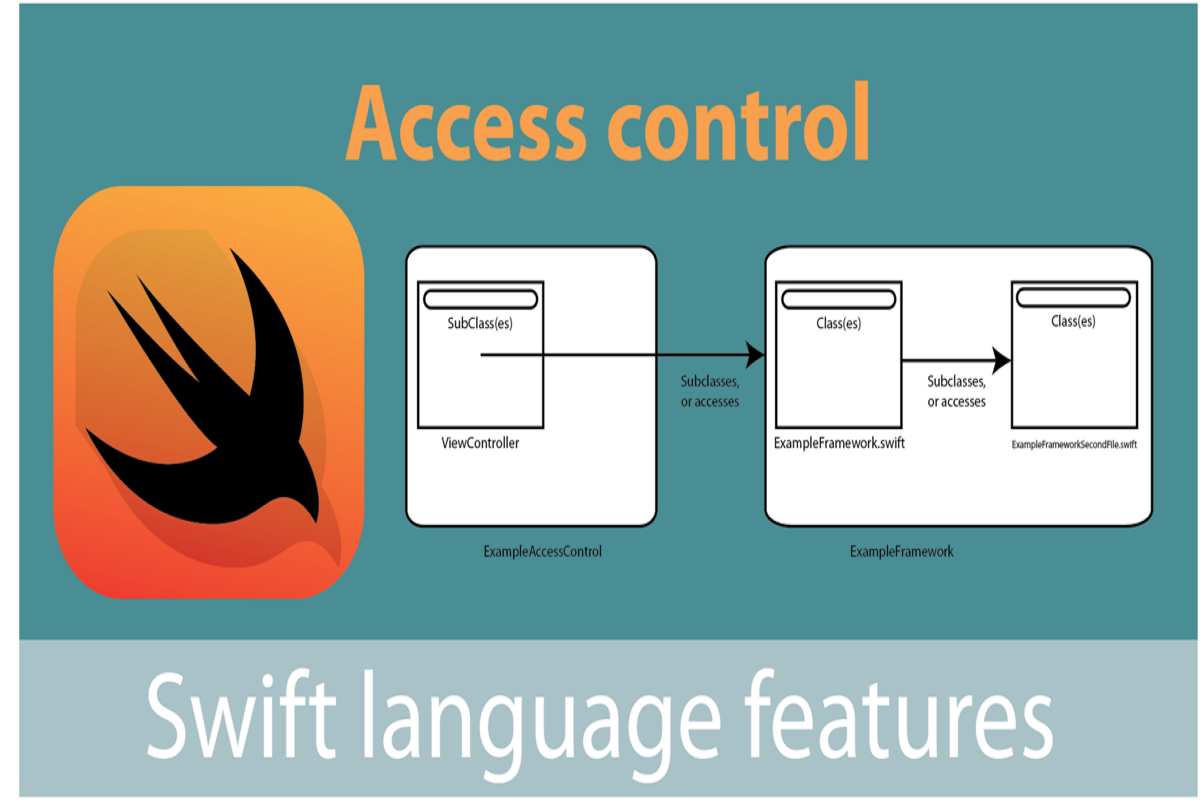
Image Source: Link
Access control in Swift is a powerful way to restrict access to resources and prevent unauthorized users from making changes. It allows you to specify who can access specific objects and properties, and restrict their actions based on the permissions they have been granted.
There are several types of access control that you can use in Swift:
- Permissions: These allow you to specify which users or groups can access specific properties and methods on an object.
- Roles: These define sets of permissions that override any given permission set for an object.
- Accreditation: This allows you to control who can enter or exit a certain area or room.
Types of Access Control
There are a few types of access control in Swift:
- File Access Control
- Directory Access Control
- iOS 11 Security Features
file access control: In file access control, you can assign rights to users and groups. For example, you might give users read permission for a document, but not write permission. You can also set permissions on files and folders individually.
directory access control: In directory access control, you specify which users or groups can view or modify files in a specific directory. You can also set permissions on folders and files in directories.
ios 11 security features: In iOS 11, you can use security features to protect your app against unauthorized access. For example, you can use the new Secure Enclave feature to protect sensitive data.
Deploying Access Control
In this blog post we will discuss how to deploy access control in Swift.
When you want to restrict who can access your application’s data, you need to make sure that your users are authenticated and authorized. Authorization checks can be done with user profiles or through security tokens. User profiles are stored within the application’s data store, while security tokens can be generated and stored externally.
Authentication is a process of verifying the identity of a user. You can do this by matching their credentials or by using an authentication service. Authorization is checking if the user has the rights to perform a specific action. Actions could be anything from reading data to creating accounts.
There are many ways to implement access control in Swift, but we will focus on two methods: using user profiles and using security tokens.
User profiles are a great way to keep track of users and their permissions without storing any sensitive data within the application itself. You can add authentication fields to your model files and useAutomaticMapping() when binding views to controllers so that the views automatically validate the inputted credentials against the valid profile attributes. To generate user profiles, you can use either the built-in Profile Manager or third-party providers such as Active Directory or LDAP servers.
Security tokens provide an easy way for authorizing users without having to store any credentials inside of your application. You can create security tokens by issuing a token request from an external provider (such as an authentication server) and then store it in an external storage location. When a user attempts to access the application, the security token is used to verify their identity.
Troubleshooting Access Control
If you are having trouble logging in or accessing certain parts of your app, it’s important to troubleshoot the issue. There are a few things you can do to try and isolate the problem:
-Make sure you’re using the correct password. The password must be at least 8 characters long and include at least one number and one letter.
-Check that you’re using the correct API key. You can find this information on your account page under “Settings > Account & Security > API Keys.”
-Ensure that your app has permission to access the resources it needs. To see which permissions your app currently has, open Xcode’s Settings > Developer panel and look under “Accessibility”. If necessary, add permissions by clicking on the “+” symbol next to a group name and entering the appropriate values into the dialogue box that appears.
Conclusion
Access control in Swift can be a difficult challenge, but with the right tools and techniques you can make it simple. In this article we’ll show you how to create custom access controls for your app using Swift, as well as provide some tips on how to avoid common mistakes. By following these guidelines you will be able to ensure that your users have the correct level of access to the information and resources that are important to them.