If you’re a designer or developer, you know that developing an app can be a daunting task. Between the various UI elements and architectures, there’s a lot to take into account. One of the most important aspects of an app is its design and layout. This is especially true if you want your app to look professional and appealing to users. In this blog post, we will explore the basics of Swift app design and layout, and give you tips on how to improve your apps without breaking the bank.
What is Swift?
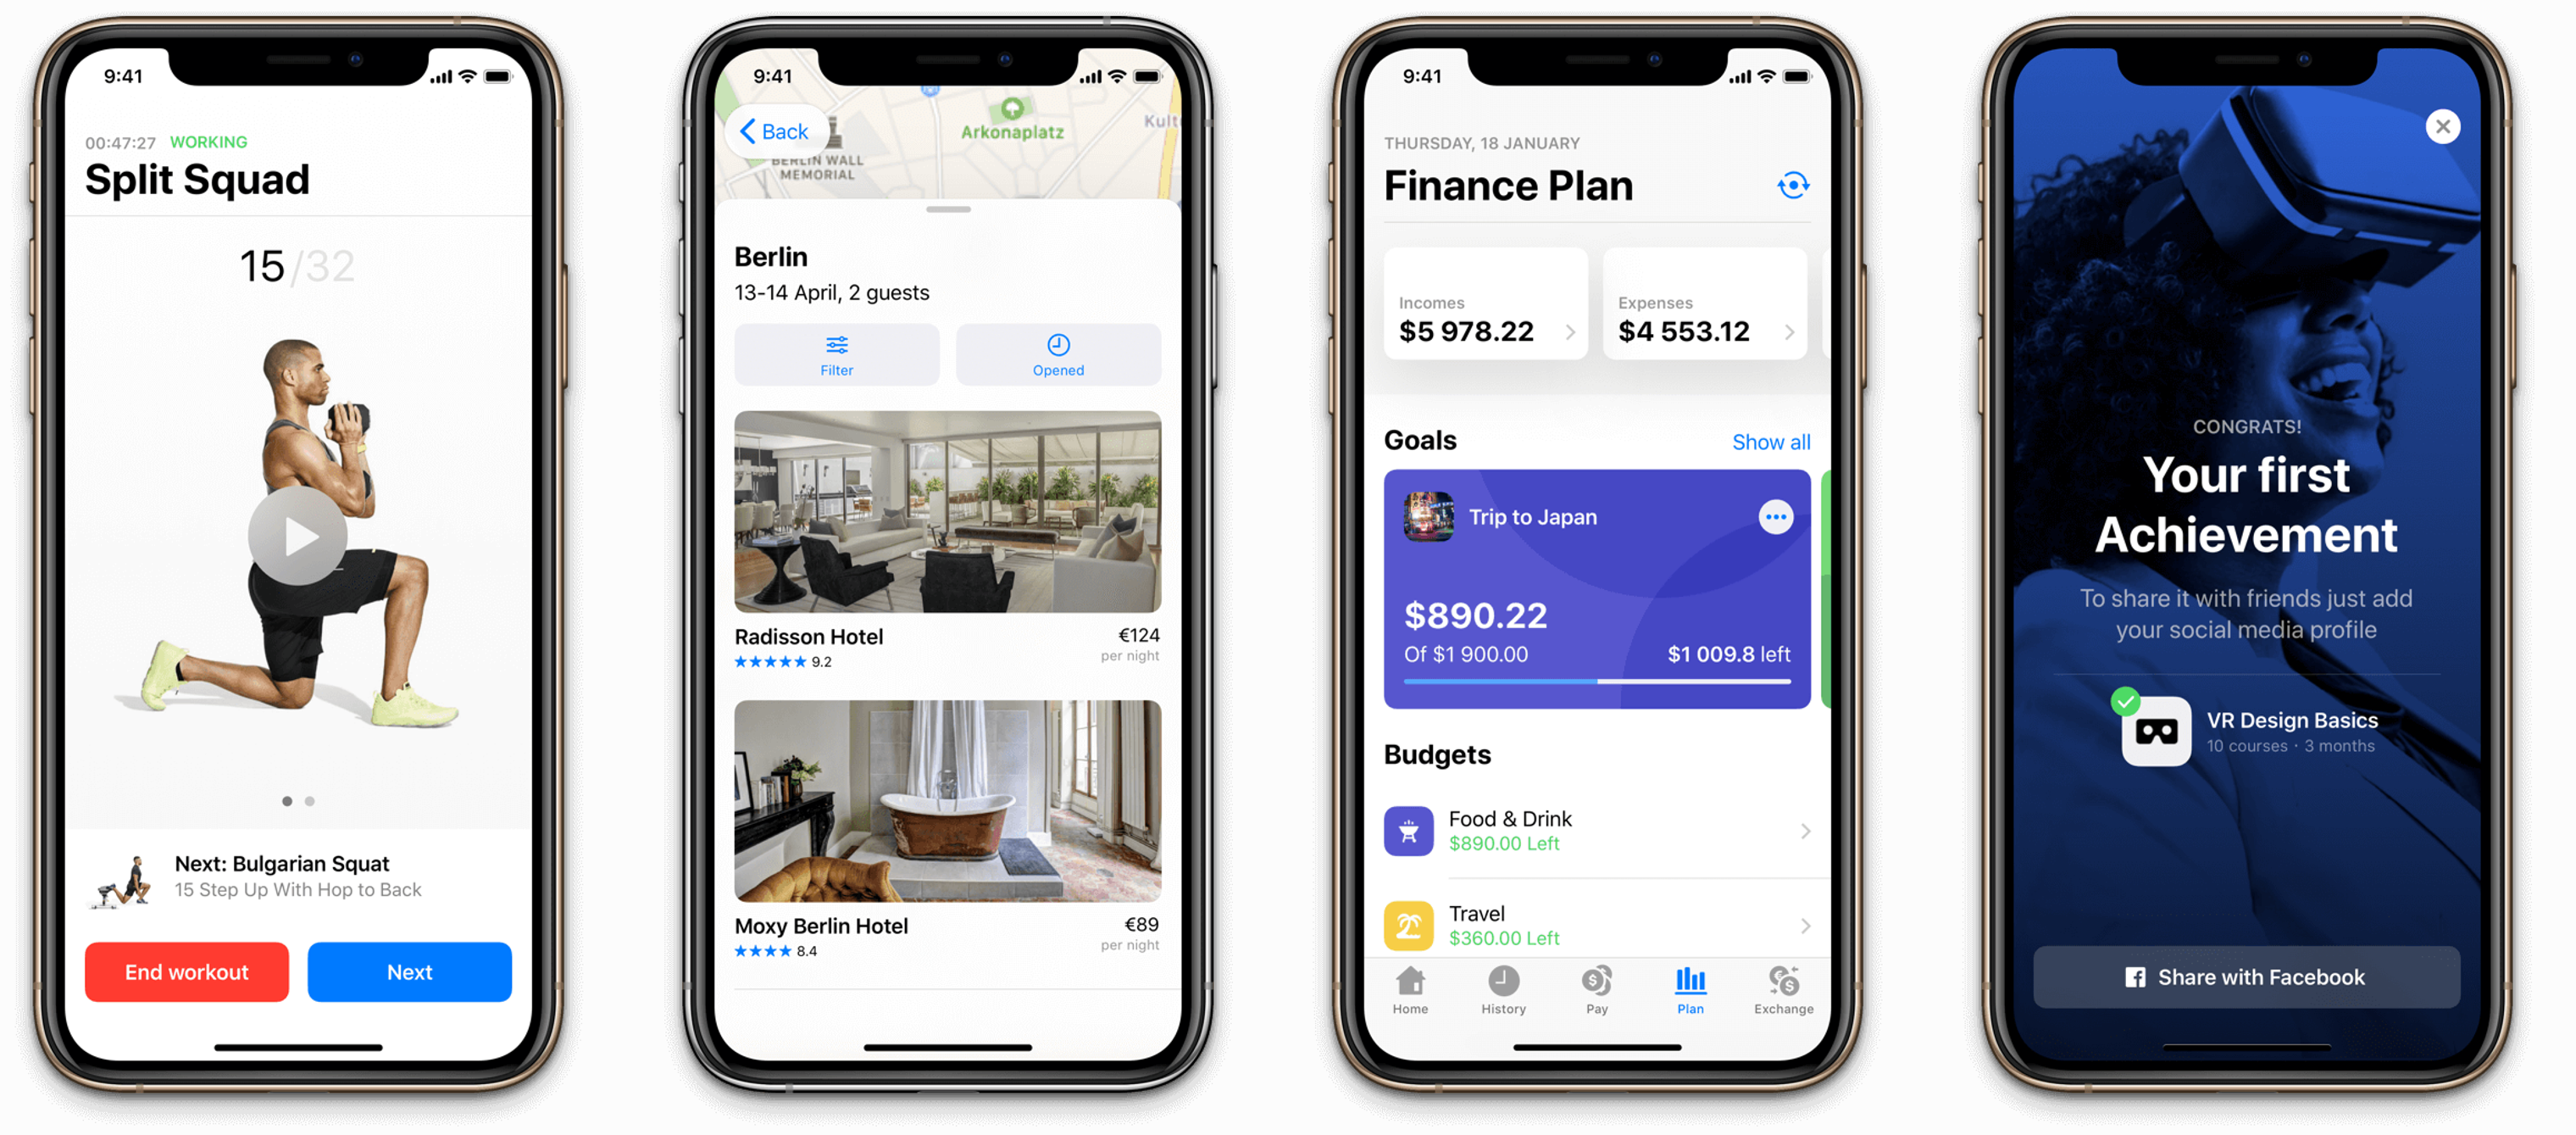
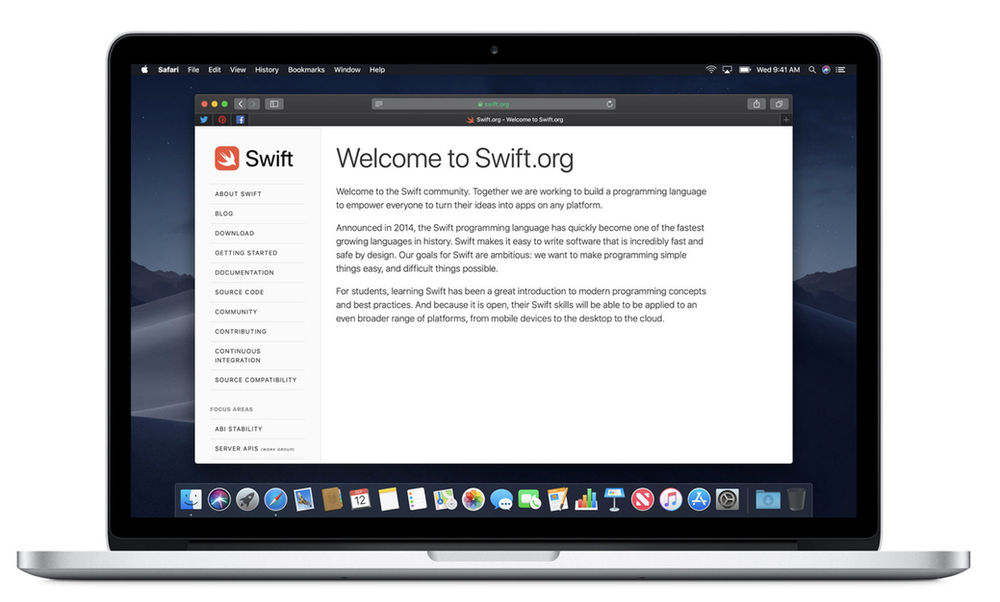
Image Source: Link
Swift is a fast, compiled, and garbage-free programming language with a tradition of simplicity and efficiency. It has been designed to develop software for the devices of today and tomorrow. Swift is open source under the Apache License 2.0.
What are the benefits of using Swift?
Swift is a powerful programming language that is growing in popularity. It has many features that make it a great choice for app development. Here are some of the benefits of using Swift:
- Swift is easy to learn. Unlike other languages, such as Java or C++, Swift is designed to be simple and easy to read and understand. This makes it a great choice for beginners who are looking to get into app development.
- Swift is fast. This is important for apps that need to run quickly on mobile devices. Swift code is compiled down into machine code, which makes it faster than other languages.
- Swift is reliable. Because it’s been developed specifically for app development, Swift code is more reliable and error-free than code written in other languages. This means your apps will run more smoothly and errors will be less likely to occur.
- Swift provides developers with tools they need to build sophisticated apps. With its rich functionalities, swift provides developers with the tools they need to build complex apps without having to resort to coding tricks or using third-party libraries.
- Swift can help speed up app development time overall.”
How to design and layout an app with Swift?
There are a few key considerations when designing and layout an app with Swift. For starters, make sure to follow Apple’s guidelines whenever possible. This includes using the appropriate fonts and spacing, as well as following good design practices such as using whitespace and grids.
Next, consider how your app will be used. Will it be a simple to use one-off app or will it have more complex features? Thinking about how users will interact with your app will help you decide on the best layout and design principles to apply.
Finally, consider the aesthetics of your app. Does it need a modern look or is something more classic required? Again, considering how users will interact with your app can help you decide on the right style.
Conclusion
Swift app design and layout can be a difficult task, but with the right planning and execution, your app can look great and function flawlessly. In this article, we have covered some of the key aspects that you need to consider when designing an app for Swift, from the user interface to the layout structure. By using these tips, you will be able to produce a polished application that meets all of your requirements
FAQs
1. What are the main design principles to follow when creating an iOS app in Swift?
Answer: When designing an iOS app in Swift, consider the following design principles:
- Consistency: Ensure a consistent look and feel throughout the app, adhering to Apple’s Human Interface Guidelines.
- Simplicity: Aim for a clean and simple design that focuses on essential features.
- Clarity: Make sure all elements are clear and easy to understand.
- Feedback: Provide feedback to user actions, such as animations or sounds for interactions.
- User Control: Allow users to have control over their experience and easily undo actions.
2. How do you create a user interface using SwiftUI?
Answer: SwiftUI allows you to create user interfaces using a declarative syntax. Here’s a simple example to create a basic UI:
import SwiftUI
struct ContentView: View {
var body: some View {
VStack {
Text(“Hello, SwiftUI!”)
.font(.largeTitle)
.padding()
Button(action: {
print(“Button tapped”)
}) {
Text(“Tap Me”)
.padding()
.background(Color.blue)
.foregroundColor(.white)
.cornerRadius(8)
}
}
}
}
struct ContentView_Previews: PreviewProvider {
static var previews: some View {
ContentView()
}
}
This example creates a vertical stack with a text label and a button. The UI is defined in a declarative way, making it easy to understand and modify.
3. What is Auto Layout and how is it used in UIKit?
Answer: Auto Layout is a system in UIKit that allows you to create responsive interfaces by defining relationships between views using constraints. Constraints specify the position and size of a view relative to other views or its container. Here’s a basic example:
let button = UIButton()
button.translatesAutoresizingMaskIntoConstraints = false
view.addSubview(button)
NSLayoutConstraint.activate([
button.centerXAnchor.constraint(equalTo: view.centerXAnchor),
button.centerYAnchor.constraint(equalTo: view.centerYAnchor),
button.widthAnchor.constraint(equalToConstant: 200),
button.heightAnchor.constraint(equalToConstant: 50)
])
In this example, the button is centered in the view with a fixed width and height.
4. How do you handle different screen sizes and orientations in SwiftUI?
Answer: SwiftUI automatically adapts to different screen sizes and orientations. You can use the GeometryReader to get information about the container size and adjust your layout accordingly. Here’s an example:
import SwiftUI
struct ResponsiveView: View {
var body: some View {
GeometryReader { geometry in
VStack {
if geometry.size.width > geometry.size.height {
Text(“Landscape”)
} else {
Text(“Portrait”)
}
}
.frame(width: geometry.size.width, height: geometry.size.height)
.background(Color.gray)
}
}
}
struct ResponsiveView_Previews: PreviewProvider {
static var previews: some View {
ResponsiveView()
}
}
This example changes the text based on the screen’s orientation.
5. What are the best practices for designing accessible apps in Swift?
Answer: Designing accessible apps ensures that users with disabilities can use your app effectively. Here are some best practices:
- Use Semantic Elements: Use SwiftUI or UIKit elements that convey meaning, such as Button, Text, and Image.
- Provide Accessibility Labels: Use accessibilityLabel, accessibilityHint, and accessibilityValue to describe elements for VoiceOver.
- Support Dynamic Type: Ensure your app responds to the user’s preferred text size settings.
- Color Contrast: Ensure sufficient contrast between text and background colors.
- Test with Accessibility Features: Regularly test your app with VoiceOver and other accessibility features to identify and fix issues.
Button(action: {
print(“Button tapped”)
}) {
Text(“Tap Me”)
}
.accessibilityLabel(“Tap Me Button”)
.accessibilityHint(“Double-tap to tap the button”)
In this example, the button is provided with an accessibility label and hint to improve accessibility.