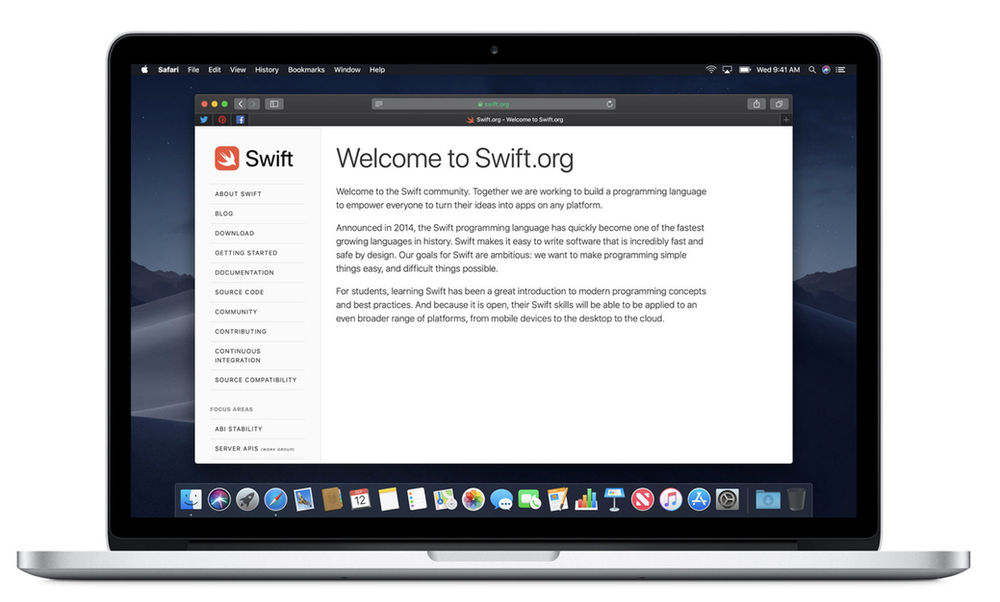
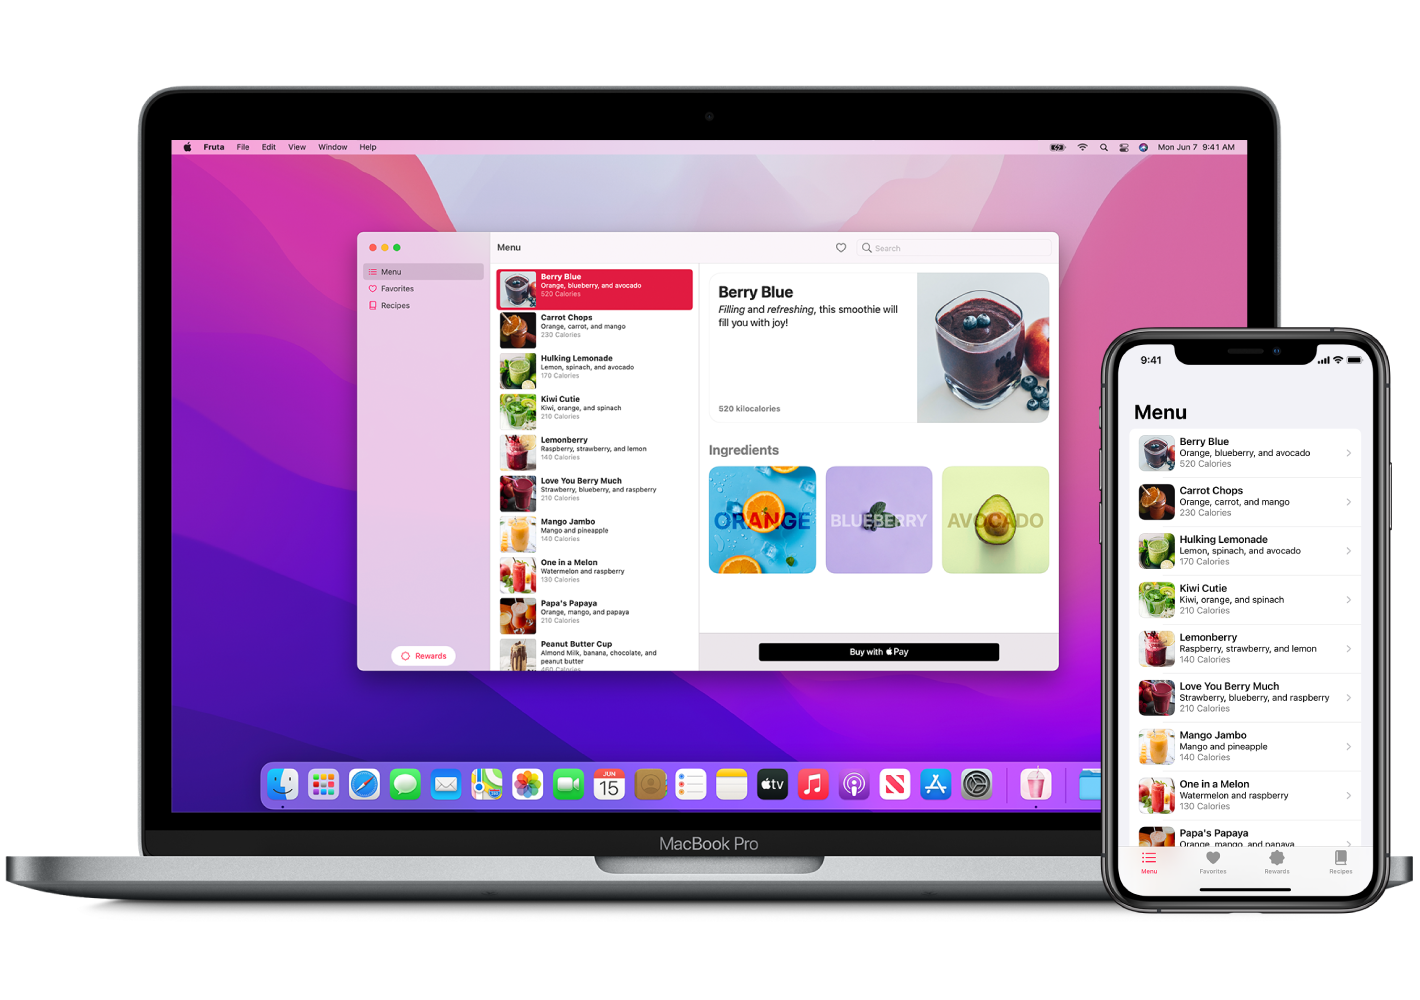
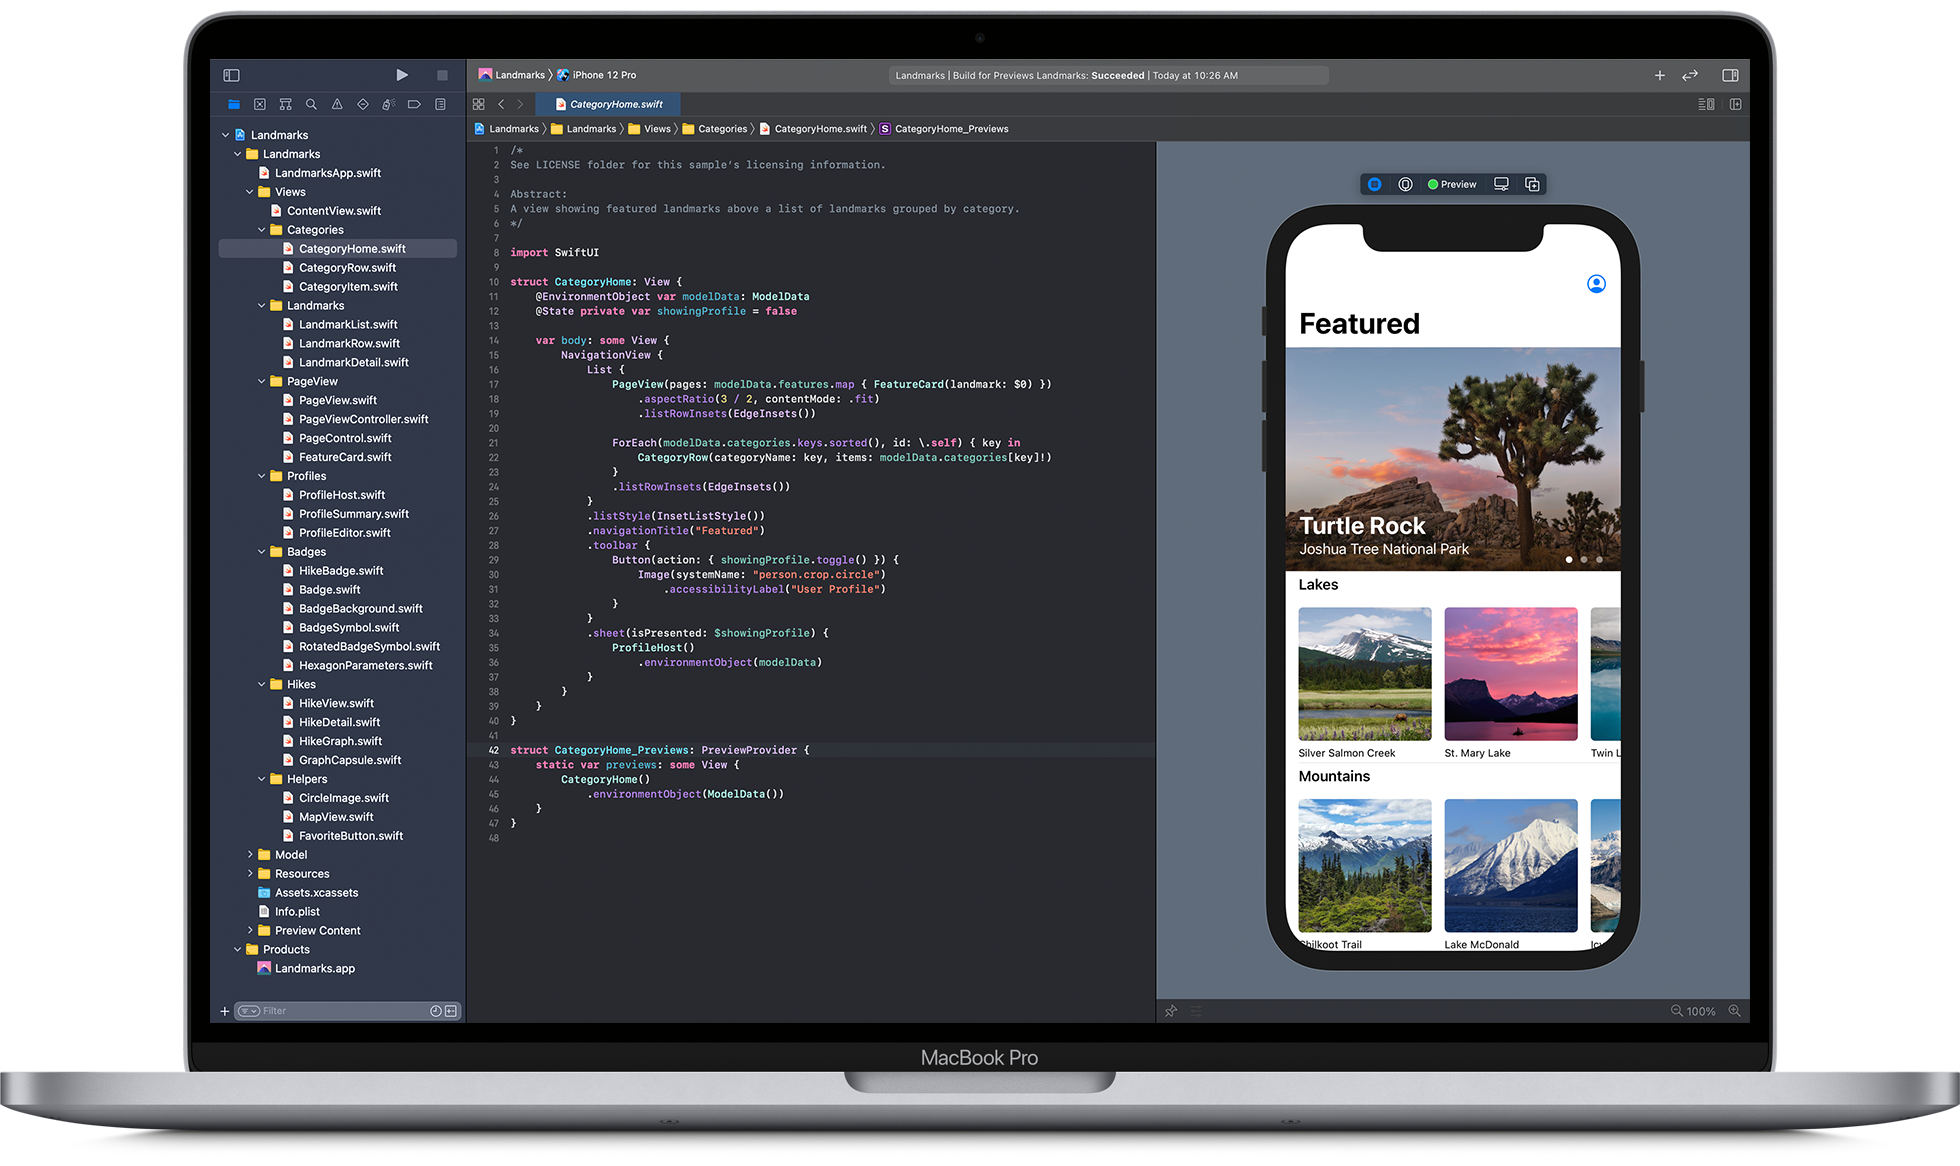
Swift is a powerful development language that has quickly become the go-to for apps and websites. It’s stable, intuitive, and fast, making it an ideal platform for web and mobile development. But if you’re like most Swift developers, you may be wondering how to integrate it with other systems. Thankfully, there are several well-known frameworks that integrate easily with Swift. In this blog post, we’ll take a look at four of the most popular Swift integration frameworks and offer tips on how to choose the right one for your project.
What is Swift?
Swift is a new programming language created by Apple Inc. and was first released in 2014. It is equipped with features that make it easier to write code that is more efficient, readable, and reliable than traditional programming languages. Swift also has a modern design that makes it more intuitive for the user.
One of the benefits of using Swift is that it can be integrated into existing applications and frameworks. This integration can be done in a number of ways, but some tips to consider include:
-Using Objective-C or Foundation APIs to interface with existing codebase: This approach allows existing developers to use their existing skills while also taking advantage of the power and convenience of Swift.
-Making use of modules: Modules allow developers to break down complex code into smaller, more manageable pieces. This makes writing and maintaining the code much easier.
-Integrating with third-party services: By integrating with third party services, users can access additional functionality or data that they wouldn’t be able to access otherwise.
What are the benefits of using Swift?
Swift is a powerful programming language that is quickly gaining popularity. It has several features that make it more suitable for creating applications than other languages, such as its concise syntax and the ability to work with Alamofire.
Some of the benefits of using Swift include:
– swift is fast: Swift code runs quickly on iOS and macOS devices. This can be a big advantage if you are developing an app that needs to run smoothly on mobile devices.
– Swift is easy to learn: Swift is designed to be easy to read and understand, so you will not have to spend hours learning how to code in it.
– Swift supports Unicode: Swift allows you to use Unicode characters in your programs, which can make your applications more universal.
How to get started with Swift Framework Integration?
When integrating with the Swift Framework, it is important to understand the different components that make up the platform. In this article, we will outline some tips to help you get started with Swift Framework Integration.
When working with the Swift Platform, there are three main areas you will need to focus on: 1) The Swift language itself; 2) The Foundation library; and 3) The Core Libraries. Understanding each of these areas will give you a strong foundation for integrating with the framework.
First, let’s take a look at the language itself. Because Swift is a new language, it offers many features not available in other languages such as Objective-C. One of these features isGenerics which allow you to create reusable code constructs. To use Generics in your code, add the following line to your source file:
struct MyStruct { let data : Int = 0 } // usage var obj : MyStruct = … obj . data += 1 print ( obj . data )
In this code snippet, we have created a structure called MyStruct that stores an integer value and has one property called data . We then create an instance of MyStruct using the var keyword and assign it to the object variable obj . We can then add 1 to the value stored in data on line 6 using the obj.data += 1 statement. Finally, on line 8 we print out what our object variable contains by calling its print() function.
Tips for successful Swift Framework Integration
- Consider your use case – What are you trying to achieve with your integration?
- Stick to well-known protocols – The Swift framework provides a number of well-known protocols that you can use for integration purposes.
- Keep it simple – Too many dependencies can lead to instability and difficulties in using the Swift framework effectively.
- Use Cocoapods – The CocoaPods library makes it easy to build and deploy Swift frameworks, making integration a breeze.
Conclusion
Integrating the Swift Framework into your app can be a great way to increase its functionality and make it more user-friendly. However, there are a few things to keep in mind when doing so that will help make the process as smooth as possible. In this article, we have outlined some of the key considerations you should take into account when integrating Swift into your project. Hopefully, these tips will help you get started on integrating Swift without any trouble or headaches. Thank you for reading!


