If you’re anything like us, you use a lot of different apps and websites. And odds are, you use at least one view controller in your apps. Views is a simple but powerful framework that lets you create reusable user interfaces for your apps. In this blog post, we will walk you through the basics of views, including how to create a simple view controller and display data from a database. We will also cover some advanced concepts, such as customizing the appearance of views and integrating views with other frameworks. So if you want to be a master of Swift UI, read on!
What are the views in Swift?
When creating a user interface in Swift, it is important to know the different types of views that are available. Views are the central component of an app’s user interface and can be used to display data in a variety of ways.
There are two main types of views: table views and grid views. Table views allow you to display data in a grid format, while grid views allow you to display data in a list format. You can also create custom view types using the UIView class.
Table views are especially useful when displaying large amounts of data. Grid views, on the other hand, are more suited for displaying small amounts of data. Both types of views offer various options for customization, including font size and color.
Views play an important role in an app’s user interface and should be used sparingly if possible. Overuse can lead to confusion and cluttered displays. If you need to create a complex user interface, it is best to use several different view types instead of relying on just one type.
How do we create a view?
A view is a UI component that presents data in a particular way.
You create a view by creating an Objective-C class that conforms to the UIView interface. You then create an instance of the class and configure it using the init() method.
The following example creates a simple UIView named View1 that displays the string “Hello, World!”:
#import @interface View1 : UIView { NSString *text; } @end @implementation View1 – (void)init { [super init]; text = @”Hello, World!”; } – (void)dealloc { [self release]; } @end
How do we use the view to display data?
In iOS, user interfaces are built using the view. A view is a template for displaying data that comes from a model. Views can display data in a table, list, chart or graph.
To create a new view, you first need to create a model object. The model object contains the data that you want to display in your interface. Then, you create an instance of the View class and set its properties.
The following code shows how to create and display a table view with three columns: name, age and occupation:
let model = Model() let view = View(model)view.title(“Name”)view.textLabel(“Name”)view.id(“name”)view.rowHeight(60)view.columnWidth(100)
// Set the views property to your newly created view object let views = view
What are some common questions about views?
A table view displays data in rows and columns, just like a spreadsheet. You can add cells to the table by selecting the row and column you want, or you can use the buttons at the top of the table to insert new rows or columns.
List views are similar to tables, but they display data in a list format. To add items to the list, swipe left or right on the screen. To remove an item from the list, tap it and then drag it off of the screen.
Both table and list views let you switch between viewing data in portrait or landscape mode.
Can I display different content for each column in a table view?
Yes, you can display different content for each column in a table view by using control buttons at the top of the table. To change which cells get displayed in each column, select one of these buttons and then choose one of the available options from its menu.
How do I change how wide an item is displayed in a list view?
To change how wide an item is displayed in a list view, swipe left or right on the screen.
Conclusion
Views is one of the most important components of any Android app. In this article, we will take a look at how views work and what are the basic properties that you need to know in order to create them. We will also explore some example views that you can use in your own apps. So make sure to read this article until the end, because it contains all the information you need to get started with Views in Android development!
FAQs
1. What are views in SwiftUI?
Views are the fundamental building blocks of user interfaces in SwiftUI. They represent the visual elements displayed on the screen, such as buttons, text fields, images, and containers.
2. How do I create views in SwiftUI?
Views in SwiftUI are created using structs that conform to the View protocol. You can define a view’s appearance and behavior by implementing the body property, which returns a view hierarchy using SwiftUI’s DSL (Domain-Specific Language).
3. Can I nest views within other views in SwiftUI?
Yes, SwiftUI encourages view composition, allowing you to nest views within other views to create complex user interfaces. This composability promotes code reuse and makes it easier to organize and manage UI components.
4. What is the @ViewBuilder attribute in SwiftUI?
The @ViewBuilder attribute is used to create functions or closures that return multiple views. It enables a more natural and concise syntax for constructing view hierarchies, especially when using control flow constructs like if, for, and switch.
5. How can I customize the appearance of views in SwiftUI?
SwiftUI provides a wide range of modifiers that you can apply to views to customize their appearance and behavior. Modifiers allow you to adjust properties such as font, color, padding, alignment, spacing, and more.
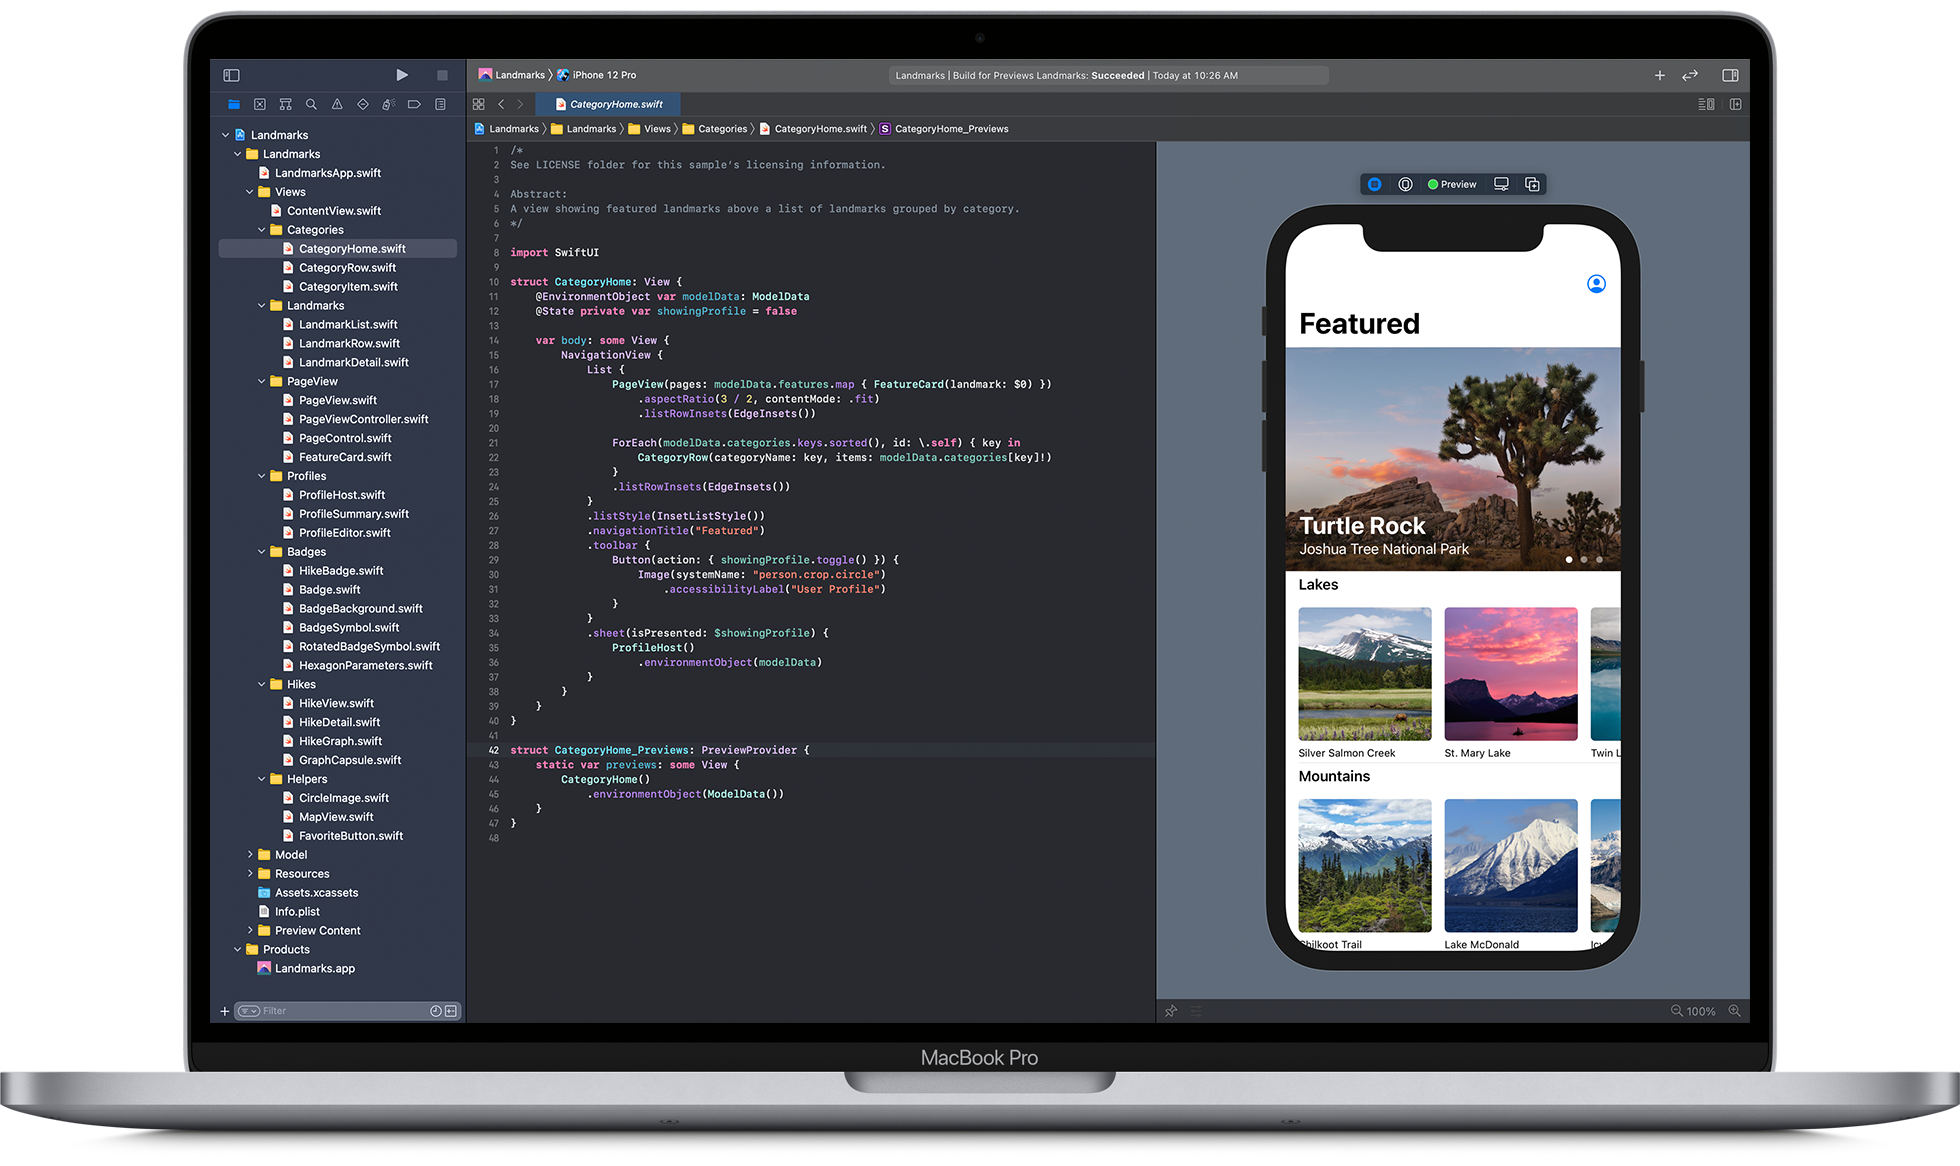
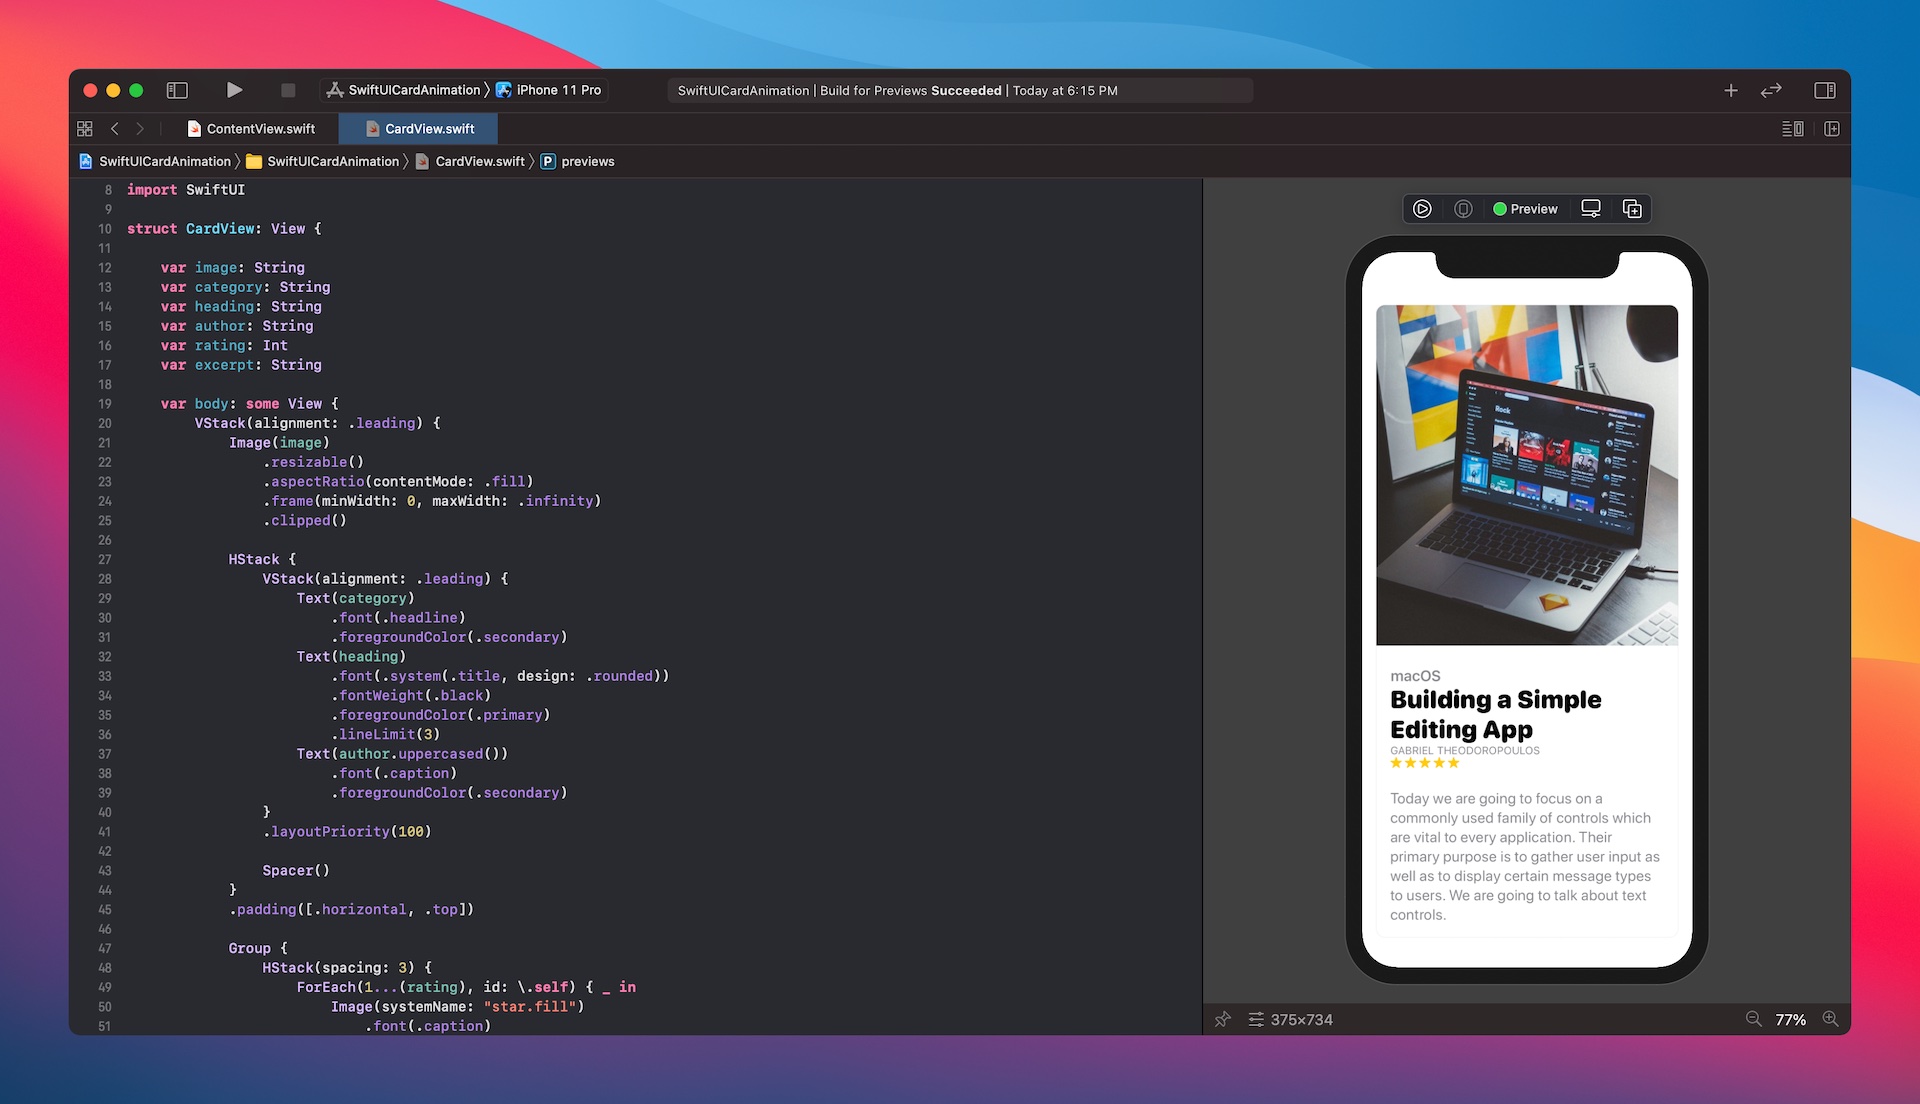
6. Can I preview views in SwiftUI without running the app?
Yes, SwiftUI includes a live preview feature in Xcode that allows you to see how your views look and behave in real-time without running the app on a simulator or device. This enables rapid prototyping and iterative development.
7. How do I handle user interaction in SwiftUI views?
SwiftUI provides various gesture recognizers such as TapGesture, LongPressGesture, DragGesture, and MagnificationGesture to handle user interaction. You can attach these gestures to views and respond to user input by modifying view properties or invoking actions.