HTML forms are one of the most important elements of any website. They allow you to collect data from your website visitors and use that information to improve your website. In this blog post, we will discuss some tips for creating effective HTML forms and increasing the data collection accuracy on your website. By following these tips, you can increase your website’s conversion rates and improve the user experience.
What is HTML?
HTML is the markup language for describing the structure of a document written in HTML. This means that all of the tags that you use to create a document must be included in an HTML document in order for it to display correctly. There are also a number of different types of tags that you can use to control the presentation and behavior of your document.
How HTML Forms Work?
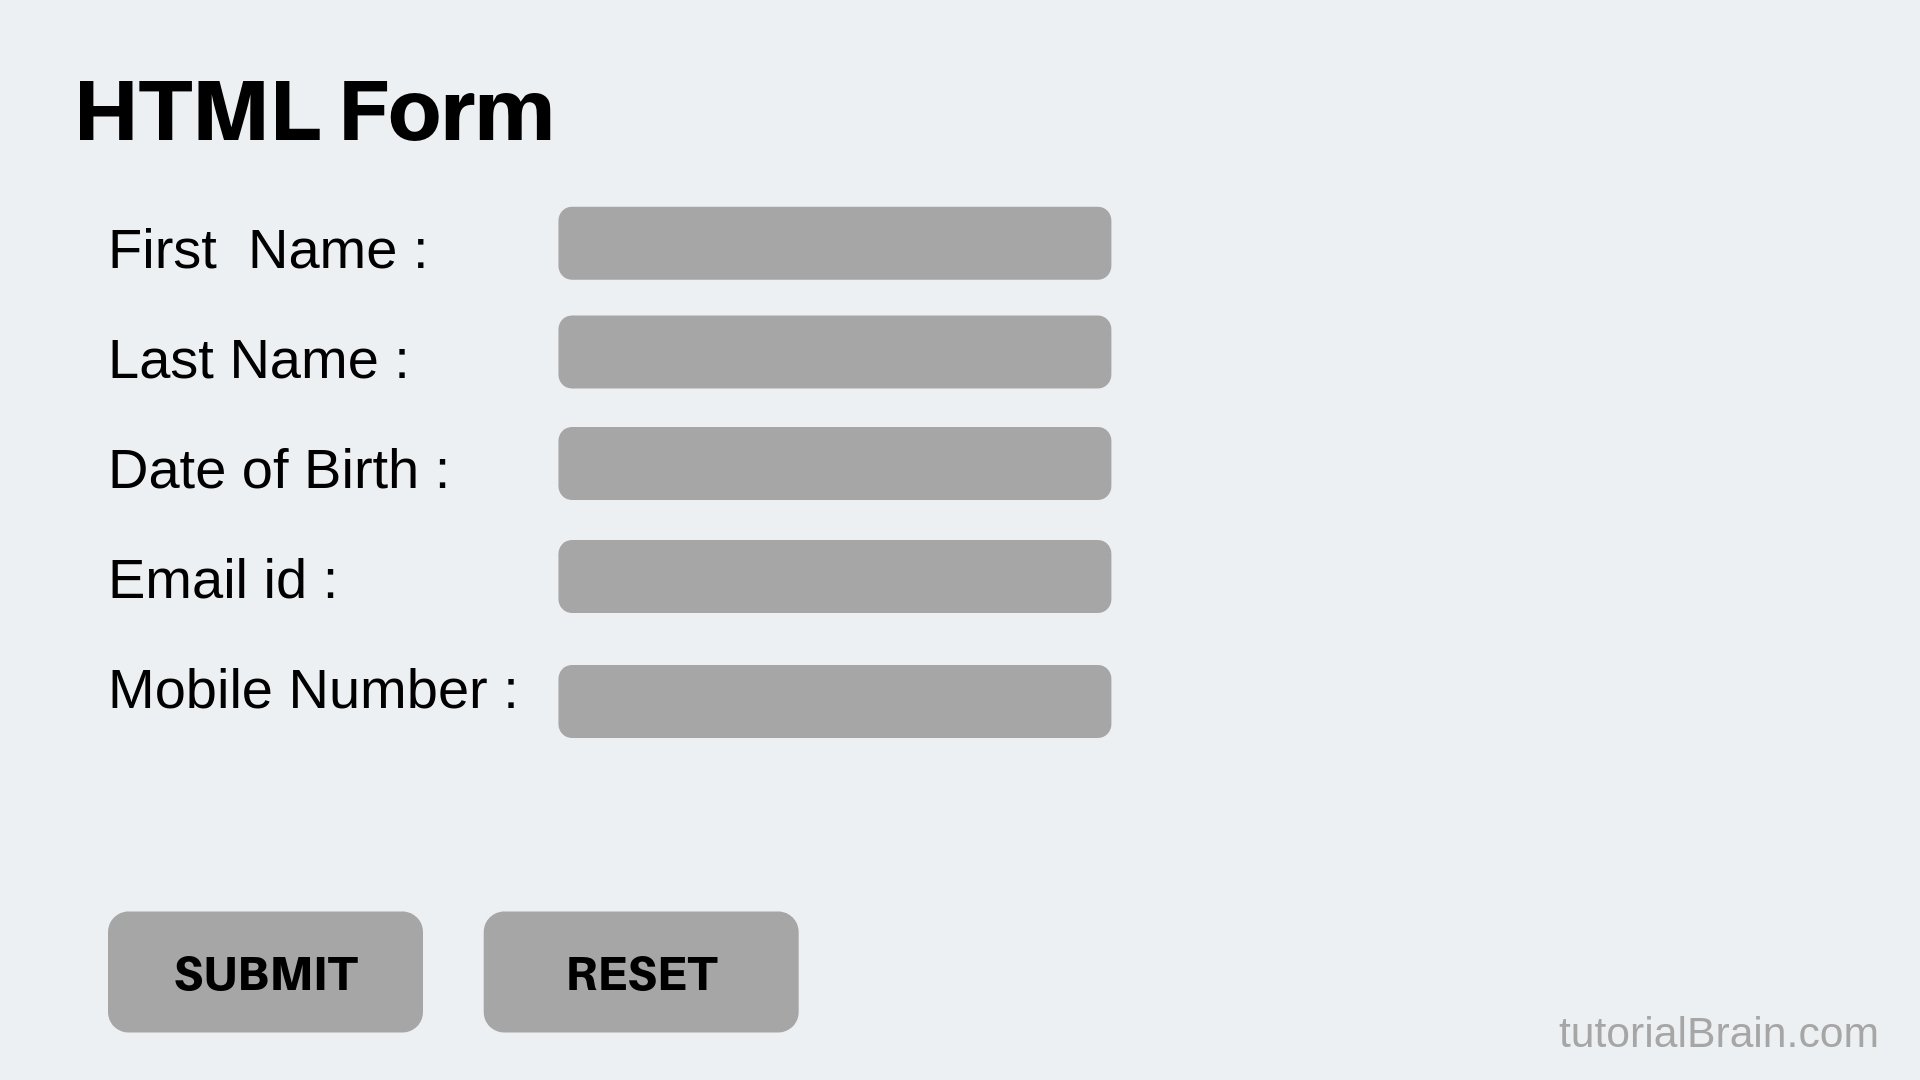
HTML forms are a great way to collect data from your users. They’re easy to create and use, and they can help you get the information you need from your users quickly and easily. Here are some tips to help make your forms as user-friendly as possible:
- Make sure your form is easy to understand. Use clear labels and concise instructions, and make sure all fields have corresponding input types.
- Make it easy for users to submit their data. Provide buttons or links that let them easily enter their information, and make sure the form is responsive so it looks good on all devices.
- Keep track of submitted data using a tracking mechanism, such as a hidden field or cookie. This will help you know who has submitted what data, and will allow you to process the data correctly (for example, by sending email notifications to users who have submitted their contact information).
- Always validate user input before processing it. This will ensure that the data is accurate and meets your requirements. If there are any problems with the data, you can reject it outright or process it in a different way (for example, by prompting the user for additional information).
What Form Elements to Include in Your Forms?
There are many elements you can include in your forms to help users complete the task at hand. Here are some tips to consider:
- Use labels for input fields. This will make it easy for users to know what data they need to enter.
- Use tabbing for fields so that users can easily move between fields.
- Include a submit button on the form so that users can submit their data without having to fill out all of the fields first.
- Give users feedback after they have entered data into a field, so they know whether their input is correct or not.
How to Create a Custom Form?
There are many custom HTML forms you can create. This is a guide to help you get started.
- First, identify the pieces of data you want to collect from your users.
- Write a basic form template that includes all the necessary elements for collecting data from your users.
- Add specific input fields for each piece of data you need, and/or add validation rules to ensure user accuracy.
- Add a submit button or link to allow users to submit their data.
How to Validate Your Forms?
When building your forms, it’s important to validate them properly so that you can ensure the data is safe and accurate. Here are some tips to validate your forms:
-Use an online form validation tool. There are many available, and they all have different features that can help you check the accuracy of your data. For example, some tools will check for invalid input types (e.g. incomplete or misspelled fields), while others will check for invalidating values (e.g. incorrect dates).
-Check the form’s validity in a browser before submitting it. This way, you can be sure that any errors on the form are visible to users before they submit it.
-Validate the form using a custom script or plugin. If you’re not comfortable using an online form validation tool, you can also create a custom script or plugin to verify the data in your forms. This way, you have more control over how and when the validation occurs. You can add specific checks for your own needs.
Conclusion
In today’s technological age, it is more important than ever to easily manage and automate your business processes. With HTML forms, you can do just that by gathering data from your customers and automating the process of processing that data in a secure way. In this article, we have highlighted some tips on creating effective HTML forms to collect data from your users effectively. Hopefully these tips will help you take advantage of the power of HTML forms and improve the efficiency of your business processes.
FAQs
1. What is an HTML form, and why is it used?
An HTML form is a section of a document that contains controls such as text fields, checkboxes, radio buttons, and submit buttons, which can collect user input. Forms are essential for interactive websites, allowing users to enter data that can be sent to a server for processing. For example, forms are used for login pages, contact forms, search bars, and online surveys.
2. How do you create a basic HTML form?
To create a basic HTML form, you use the <form> tag to define the form’s boundaries and insert input elements like <input>, <textarea>, and <button> within it. Each form control is given a name attribute to ensure the data can be correctly processed by the server. For example:
<form action=”/submit-form” method=”post”>
<label for=”name”>Name:</label>
<input type=”text” id=”name” name=”name”>
<input type=”submit” value=”Submit”>
</form>
3. What types of form input elements are available in HTML?
HTML forms support various types of input elements, including:
- Text fields (<input type=”text”>)
- Password fields (<input type=”password”>)
- Radio buttons (<input type=”radio”>)
- Checkboxes (<input type=”checkbox”>)
- Submit buttons (<input type=”submit”>)
- Drop-down lists (<select>)
- Textareas for multiline input (<textarea>)
- File select fields (<input type=”file”>) These elements allow users to input data in different formats and choose options.
4. How can I validate user input in an HTML form?
HTML5 introduces built-in form validation attributes for input elements, enabling basic client-side validation without writing any JavaScript. For example, you can use the required attribute to make a field mandatory, type attribute (like email, number) to restrict input to a specific format, and pattern attribute to define a regular expression that the input must match. For example:
<input type=”email” name=”email” required>
<input type=”text” name=”zipcode” pattern=”\d{5}” title=”Five digit zip code”>
5. What is the difference between the GET and POST methods in HTML forms?
The GET method appends form data to the URL in name/value pairs and is visible in the browser’s address bar. It’s best used for form submissions where data retrieval is intended without side effects. The POST method sends form data as part of the request body, not visible in the URL, suitable for sending sensitive or large amounts of data. The choice between GET and POST affects security and data handling in web applications.
6. How do you handle file uploads in HTML forms?
To handle file uploads, use the <input type=”file”> element within your form, and ensure the form’s enctype attribute is set to multipart/form-data. This setting allows the file to be sent as binary data to the server. For example:
<form action=”/upload” method=”post” enctype=”multipart/form-data”>
<input type=”file” name=”myfile”>
<input type=”submit” value=”Upload File”>
</form>
7. Can HTML forms send data to an email address directly?
Directly sending form data to an email address using only HTML is not possible. Form submission typically involves sending the data to a web server, which then can process the data, including sending it to an email address using server-side scripting languages like PHP, Python, or Node.js. However, you can use the mailto: action in the form, which opens the user’s default mail client to send an email, but this method is less reliable and secure for submitting form data.

