If you’re coming from a more traditional programming language such as Java or Objective C, Lists and Navigation might seem like an odd way to structure your code. But in Swift, Lists and Navigation are powerful tools that can make your application’s user interface much more intuitive.
In this article, we’ll cover the basics of lists and navigation in Swift. We’ll discuss how to create them, how to add items to them, and how to use the switcher button to switch between lists. We’ll also look at some common uses for lists in Swift applications.
So let’s get started!
Creating a List
In this tutorial, we will be exploring the basics of using lists in Swift. We will create a simple list and add items to it using various methods. We will also explore how to navigate through the list using jumping and scrolling techniques. This is an essential skill for any developer working with iOS or OSX applications.
Adding Items to a List
Lists are a fundamental part of any user interface, and in iOS 11 they’ve been given a big update. In this tutorial, we’ll show you how to create and use lists in your app, as well as how to navigate between them.
When creating a list in Swift, you can use the following methods:
– add(item:)
– insertAtIndex(index:)
– removeAtIndex(index:)
– insertAll(items:)
– removeAll(items:)
Each of these methods takes an integer parameter representing the index at which the item should be inserted into the list. If the index is out of range (i.e., greater than or equal to the number of items in the list), then an ArgumentError will be thrown.
Deleting Items from a List
Lists are one of the most common user interface features in iOS and macOS, and they play an important role in Swift. In this tutorial, we’ll show you how to create a basic list using Swift and Meng Jiang’s Navigator View framework.
First, we’ll create a new file called “ListExample.swift” and add the following code:
import UIKit class ListExample : UIView { override func viewDidLoad () { super . viewDidLoad () // Do any initial setup after loading the view. } }
Next, we need to add a property to our class to store our list data. We can do this by adding the following line of code to our class:
var items : [ String ] = []
Now, we need to create a method to add items to our list. We can do this by adding the following code to our class:
func addItem ( item : String ) { items . append ( item ) }
Finally, we need to create a method to remove items from our list. We can do this by adding the following code to our class:
func removeItem ( index : Int ) { items [ index ] = nil }
Now, we can test our list by running the following code:
ListExample . addItem ( “First item” ) ListExample . addItem ( “Second item” ) ListExample . addItem ( “Third item” ) ListExample . removeItem ( 0 ) ListExample . view ()
If you run the code, you’ll see the following output:
First item Second item Third item First item Second item Third item
Updating a List
Lists are an important part of any user interface and in Objective-C, they’re implemented using the NSArray class. In this tutorial, we’ll explore how to create a basic list in Swift and add navigation to it using the swipe gesture.
First, let’s create our list instance. We’ll use the NSArray class to create a collection of strings. The first argument for the NSArray class is the type of data we want to store, in this case, strings. The second argument is the array length – in this case, we’ll store 10 strings.
Next, we’ll need to add some methods to our class so that we can interact with our list. We’ll start by adding a method called appendItem: which takes an item as its sole argument and adds it to the end of our list. Next, we’ll add a method called removeItem: which removes an item from our list. Finally, we’ll add a method called reverseList: which reverses our list order.
Now that we’ve created our basiclisting structure, it’s time to add some functionality to it. We’ll start off by defining a gesture recognizer which will allow us to interact with our app using the swipe gesture. We’ll also define two buttons – one which will executed when swiping left on a List item and another which will execute when swiping right on a List item.
Once we’ve defined these two functions, all that remains is to add the gesture recognizer and buttons to our list. We’ll do this by adding a line of code to our appendItem: method. We’ll first define the gesture recognizer and specify that it will be used for swiping left. Next, we’ll add the swipe gesture handler which will be executed when the user swipes left on an item in our list. Finally, we’ll add the button instances which will be responsible for executing our functions when the swipe gesture is detected.
Now that we’ve added all of our functionality, it’s time to test it out! To do this, we can simply run our app on an iPhone or iPad and swipe left and right on the list items to test out our functionality.
Navigating Lists
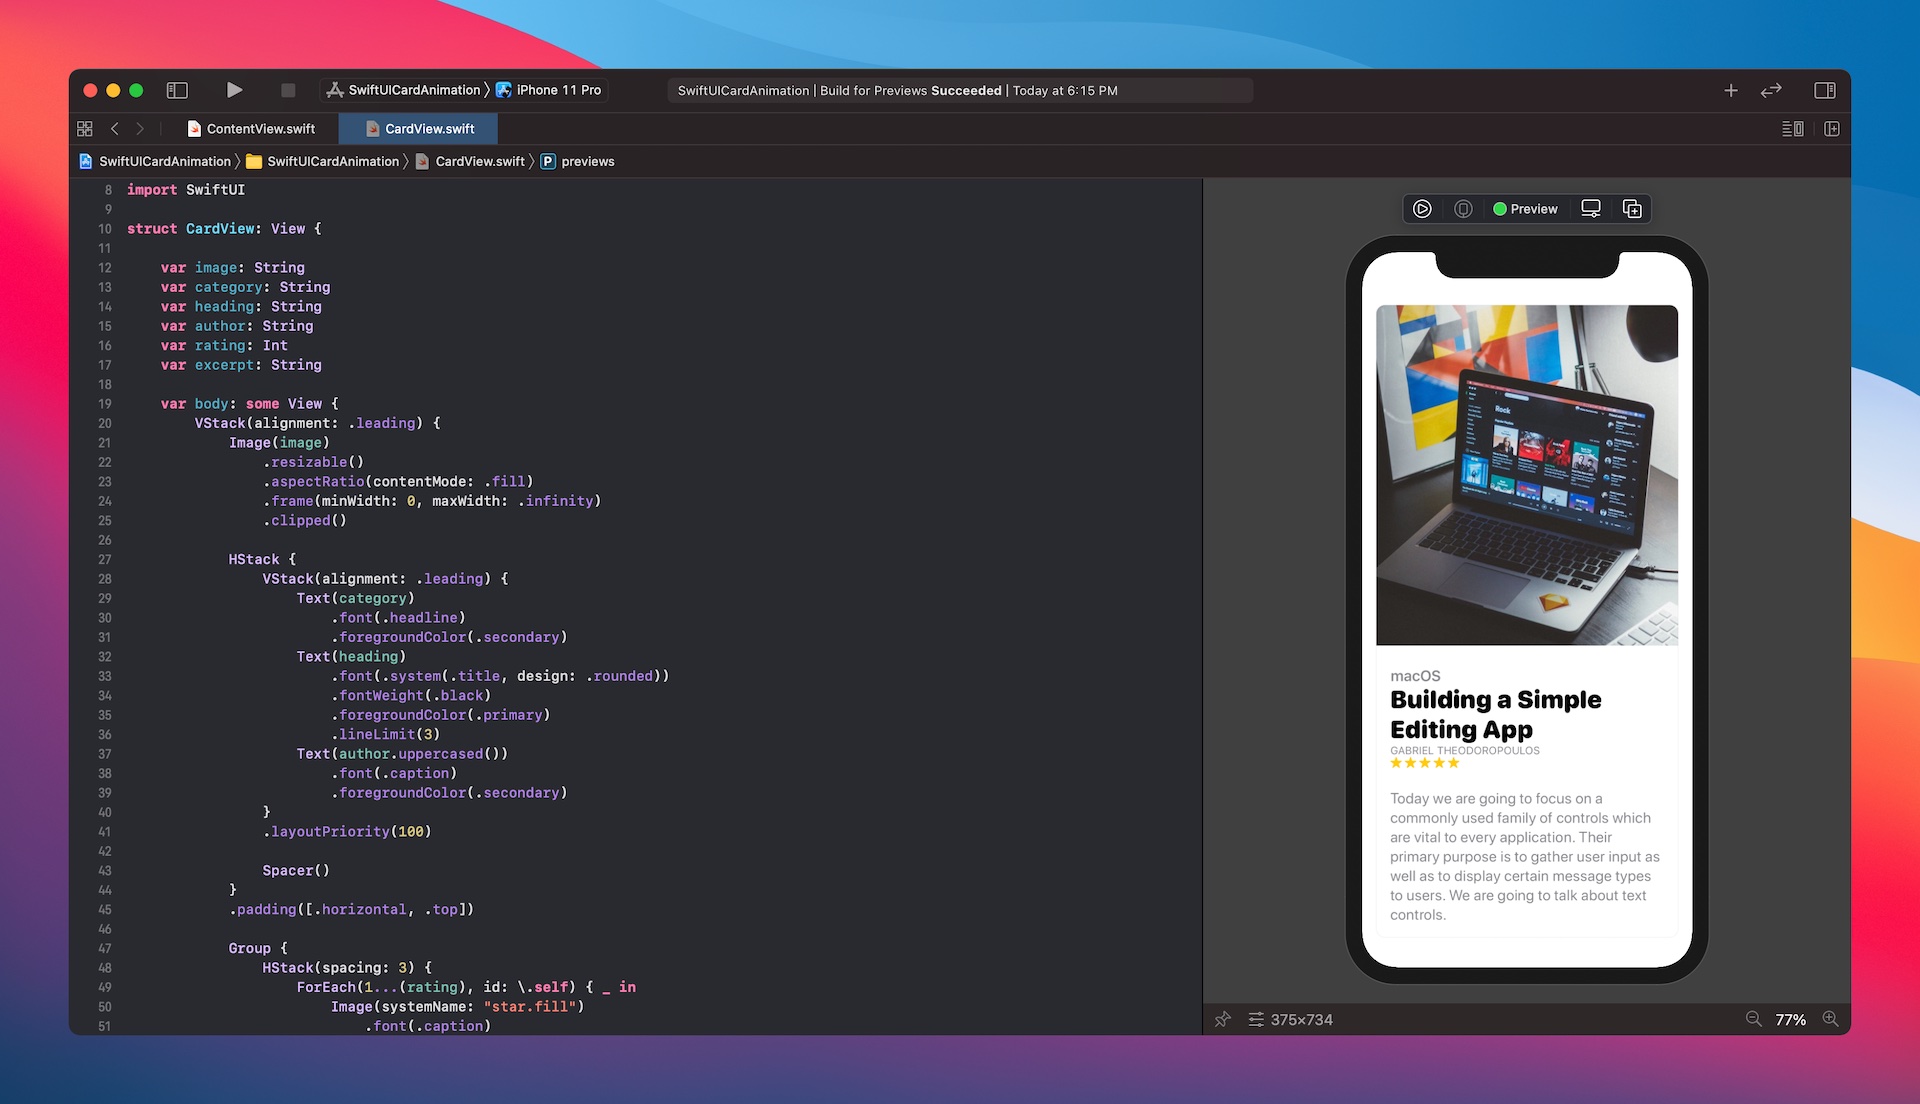
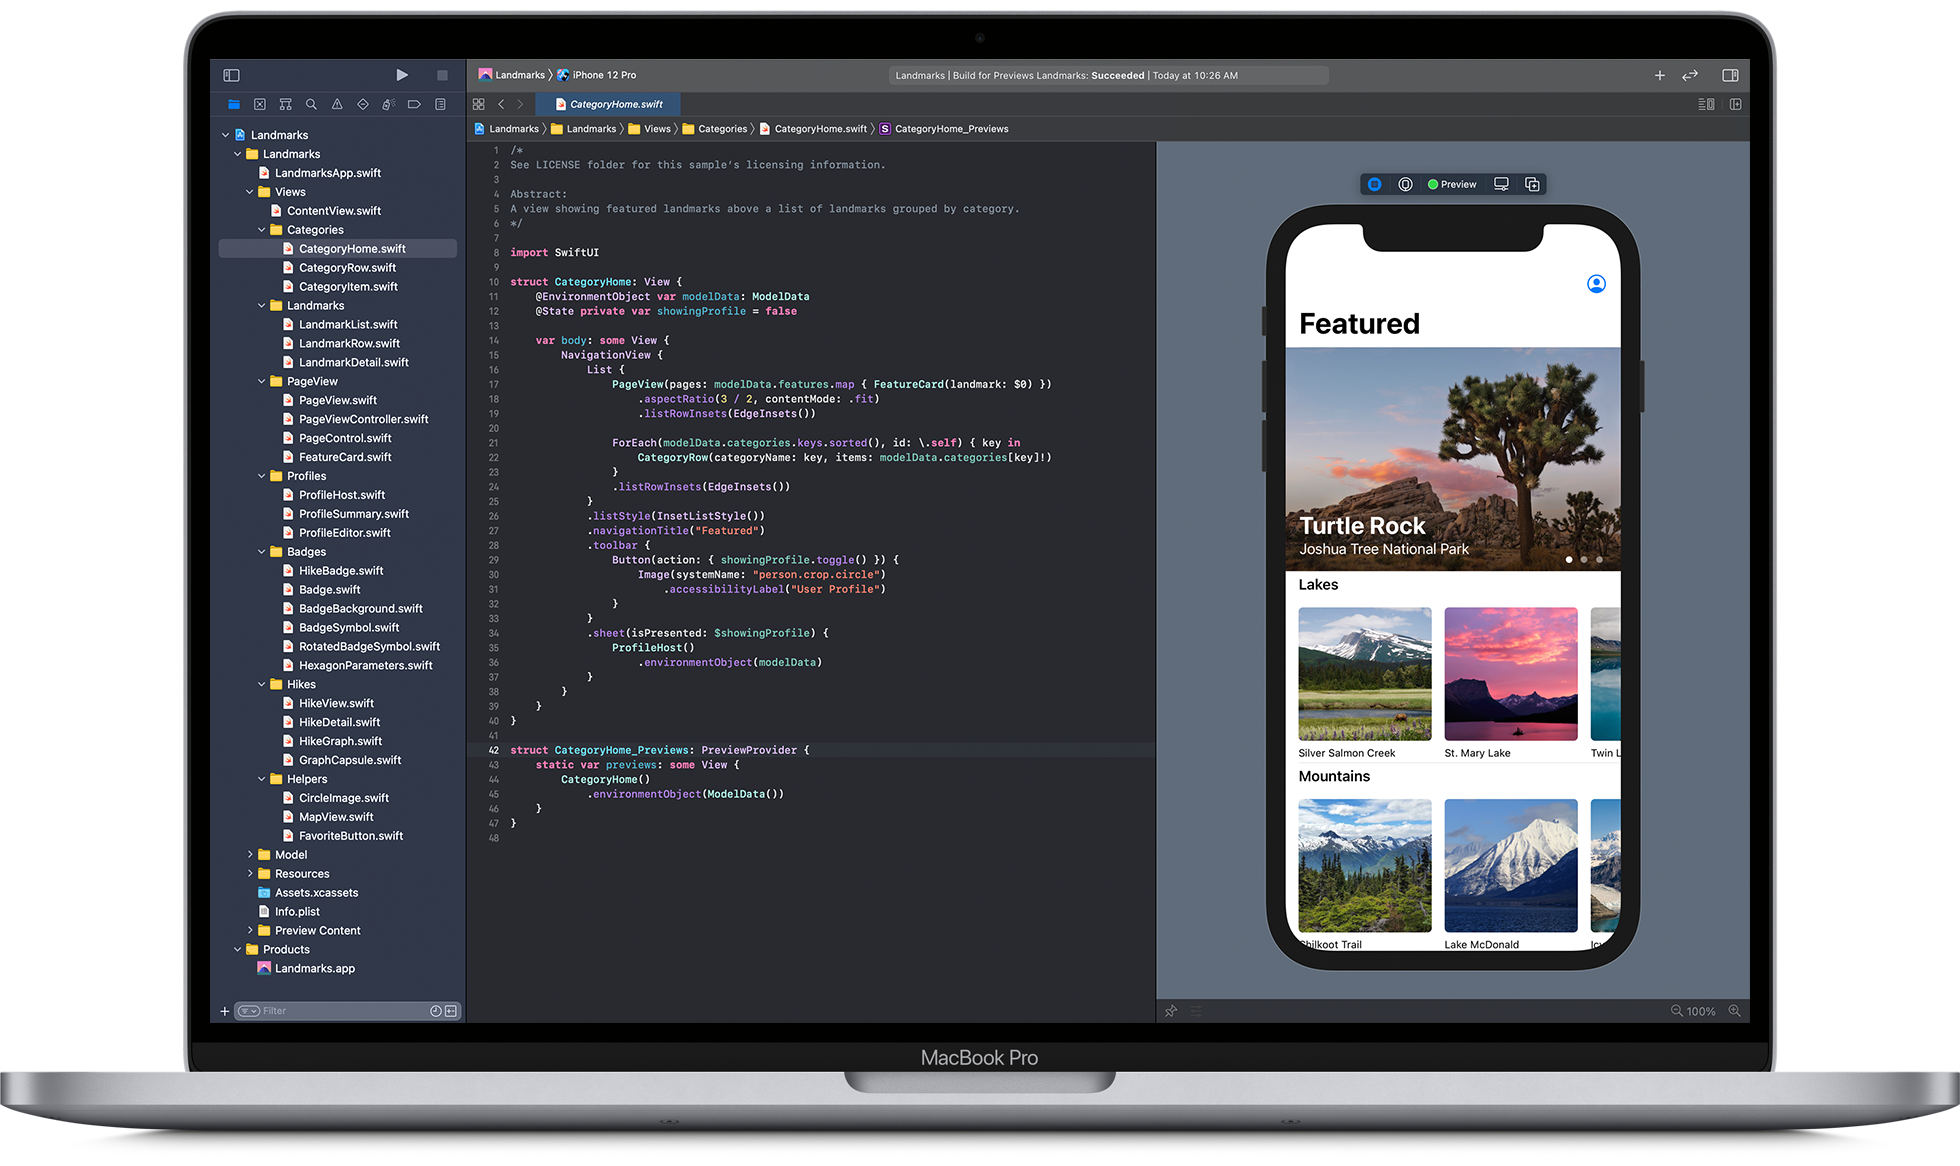
Lists are a fundamental part of SwiftUI, and there are many different ways to create them. In this article, we’ll show you how to create a basic list using the SwiftUI library, and then add navigation using buttons and labels.
To start, create a new project in SwiftUI by choosing File > New Project… from the main menu. Select List from the Type dropdown and click Next. On the next screen, set the Name to “MyList” and click Next.
Now we need to define some properties for our list. First, set the List View Controller class to MyListViewController. Then set the Title property to “My List”. Finally, set the DataSource property to an instance of UIListDataSource:
Next, we need to define our list items. Create a new file called MyListItem.swift and add the following code:
import UIKit class MyListItem: NSObject { static let item = 0 } override func awakeFromNib() { super .awakeFromNib() self .item = 1 } }
This code defines an object called item that will hold the current list item number (0 being first). Finally, we override awakeFromNib so that our object is initialized when the user launches our app from inside a nib file (.swift or .xib).
The last thing we need to do is configure our data source in MyListViewController. Add the following line to the list view’s data source property:
UIListDataSource myListDataSource = [myListDataSource]()
Now we can add some buttons and labels to our list view. In MyListViewController, add the following lines of code to the end of the file:
btnAdd = UIButton(title: “Add New Item”, command: “addItem”, target: self) btnDelete = UIButton(title: “Delete Item”, command: “deleteItem”, target: self) labelFirstName = UIListItemView.labelForItemAtIndexPath(0, inSection: 0) labelLastName = UIListItemView.labelForItemAtIndexPath(1, inSection: 0)
btnAdd will be used to add new items to our list, while btnDelete will be used to delete existing items. Finally, we define two labels – one for the first name and one for the last name. We’ll use these labels later on when we create our list items.
Now we need to define how our list items should look when they’re displayed onscreen. Add the following lines of code to the end of MyListViewController.swift:
self.items = UIList(items: myListDataSource) self.itemAtIndexPath = 0
This code will load the list data from our data source and set up a UIImageView for each item in our list. Then we assign the current index path to self.itemAtIndexPath so that we can easily access the list items from within our app.
Now we’re ready to launch our app and test out our list! Click on the btnAdd button and add a new item to your list. Then click on the btnDelete button to delete this item from your list. You should see the corresponding labels change values as you edit your list items.
Conclusion
In this article, we will be covering the basics of Swift UI Lists and Navigation. We will start with a list and work our way down to more complex examples. By the end of the article, you should have a basic understanding of how lists and navigation work in Swift, as well as some tips on how to create them effectively.
FAQs
What is SwiftUI?
SwiftUI is a framework introduced by Apple for building user interfaces across all Apple platforms using a declarative Swift syntax. It enables developers to create UI components such as lists, buttons, and navigation views with less code and greater flexibility compared to traditional UIKit.
What is a List in SwiftUI?
A list in SwiftUI is a view that displays a collection of data in a vertical scrollable manner. It’s commonly used for displaying arrays or other collections of data. Lists automatically adjust their content based on the size and orientation of the device.
How do I create a List in SwiftUI?
Creating a list is straightforward in SwiftUI. You can use the List view and provide it with a collection of data. For example:
List {
Text(“Item 1”)
Text(“Item 2”)
// Add more items here
}
How can I add Navigation to a SwiftUI List?
To add navigation to a list, you can embed the list inside a NavigationView and then use navigation modifiers such as NavigationLink. For example:
NavigationView {
List {
NavigationLink(destination: Text(“Detail View”)) {
Text(“Item 1”)
}
NavigationLink(destination: Text(“Detail View”)) {
Text(“Item 2”)
}
// Add more items with NavigationLink here
}
.navigationTitle(“List with Navigation”)
}
What is NavigationLink in SwiftUI?
NavigationLink is a view used for navigation in SwiftUI. It creates a button that, when tapped, navigates to another view. It’s commonly used within lists to navigate to detail views or other sections of an app.
Can I customize the appearance of a SwiftUI List?
Yes, SwiftUI provides various modifiers to customize the appearance of a list, such as listStyle, background, accentColor, and more. You can apply these modifiers to the List view to change its appearance according to your design requirements.
How can I handle selection in a SwiftUI List?
To handle selection in a list, you can use the selection and onTapGesture modifiers. For example, to highlight the selected item in the list, you can use a @State variable to store the selected item and update it when an item is tapped. Then, use the selection modifier to bind the selected item to the list. Here’s a basic example:
struct ContentView: View {
@State private var selectedItem: String?
var body: some View {
List {
ForEach(items, id: \.self) { item in
Text(item)
.onTapGesture {
self.selectedItem = item
}
}
}
.listStyle(InsetGroupedListStyle())
.navigationTitle(“Selectable List”)
}
}