Swift is quickly becoming one of the most popular programming languages on the market. It’s simple to learn, fast-paced, and comes with a wealth of features. But like any language, Swift has its own set of quirks and version compatibility issues. If you are working on a project that involves multiple versions of Swift, it can be tricky to keep everything in sync. This guide will walk you through the basics of Swift version compatibility, so that you can avoid any headaches down the road.
What is Swift?
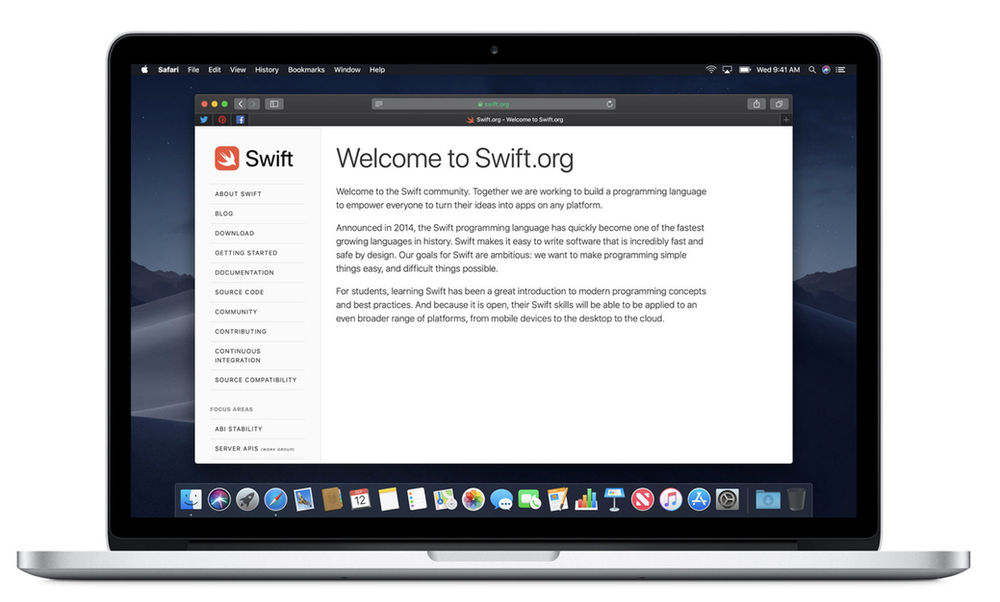
Swift is a new programming language that was created by Apple Inc. It is designed to make developing apps for the iPhone and iPad more efficient and enjoyable. Swift also has several features that make it a better choice than other popular programming languages, such as Objective C.
It is currently available on OS X 10.11 El Capitan and iOS 11.1. Swift development requires a Mac with the latest version of Xcode and an Intel-based Mac or anApple TV 4th generation or later with tvOS 11 installed. In terms of compatibility, Swift is compatible with both native iOS and macOS app development projects developed in earlier versions of Xcode, as well as third-party tools like Realm and React Native.
What are the version compatibilities of Swift?
Swift is a new programming language created by Apple Inc. It is designed to make development on Apple products more efficient and enjoyable. Swift is not cross-platform, meaning that it can only be used on devices that run iOS or OS X. This means that Swift cannot be used on devices running Android or Windows.
There are three versions of Swift: swift 1.0, swift 1.1, and swift 2.0. Swift 1.0 was released in December 2014 and is the most recent version of the language. Swift 2.0 was released in June 2017 and has many new features compared to the previous version of the language. While both 1.1 and 2.0 are compatible with each other, there are some minor differences between them which may affect how code works depending on what version you use. For example, let’s say you have a function called add in module A which takes two arguments: a number and a string (let’s call them x and y), but you’ve written it in module B using swift 1.1 using the following code:
func add(x: Int, y: String) -> Int { return x + y }
If you wanted to use this same function in module C using swift 2.0, you would have to change the type of the second argument from String to Number since that is the only type supported by swift 2.0:
func add(x: Number, y: String) -> Number { return x + y }
There are also a few minor syntactic differences between 1.1 and 2.0 which may affect how code works. For example, the keyword let can now be replaced with the var keyword.
How to check the version compatibility of Swift?
If you are compiling a new project from source, or upgrading an existing project, it is important to check the version compatibility of Swift. This article provides instructions on how to do this.
In order to check the version compatibility of Swift, you first need to determine which version of Swift you are using. You can do this by opening Xcode and selecting File > Project Info… from the menu bar. Then select the General tab and under Version, click on the button that shows the text “Swift 4.2”. If you are using a beta version of Swift, then your version number will be different (for example, if you are using Swift 4.3 beta, your version number would be “Swift 4.3”).
Once you have determined your version number, you can perform the following steps to check the version compatibility:
1) Open a new workspace in Xcode and create a new project (or open an existing project and adjust the settings as required).
2) To adjust the settings, follow these steps:
1. Click on “File” > “Settings…” in the menu bar.
2. Scroll down until you locate the “Build Settings” section.
3. In the “Project Sources” tab, confirm that “Use Libraries” is configured as “Embedded Binaries.”
4. Then, choose your desired Swift language assembly file (.swift).
3) In order for Xcode to compile your projects correctly, you need to specify which platform(s) your projects will target. To do this, under Targets tab select the appropriate platform from the drop-down list and click on the button that says “Set as Target”.
4) Select your new project in the Project Navigator and click on the General tab. Under Environment Variables, make sure that the path to your desired Swift language assembly file (.swift) is set and click on the button that says “Add”.
5) Under Sources Components, add the following frameworks: Foundation, SystemConfiguration, CoreGraphics, Security.framework. If you are using a beta version of Swift then you will also need to add: CoreLocation.framework, GLKit.framework, Metal.framework.
6) Make sure that your project has at least one source file (in this example we will use main.swift). Click on main.swift and ensure that you select them as the startup target in the Project Navigator.
7) Click on Build > Build All from the menu bar to compile your project(s).
8) After successfully compiling your project(s), you can check the version number by opening Xcode and choosing “File” > “Open Developer Tool” from the menu bar. In the Open Developer Tool window, select your newly compiled Swift project (.xcodeproj) and click on the Version tab. The version number should be listed next to “Build version”.
FAQs
1. What are Swift version compatibilities?
Swift version compatibilities refer to the ability of a Swift program or library to run correctly across different versions of the Swift programming language. This includes ensuring that code written in one version of Swift remains functional when compiled with a different version.
2. How does Swift handle version compatibility?
Swift strives to maintain backward compatibility with earlier versions as much as possible. However, major updates to the language may introduce breaking changes that require developers to update their code to match the new syntax or APIs.
3. Can code written in an older version of Swift be used in newer versions?
Generally, code written in an older version of Swift can be used in newer versions, but it may require minor adjustments to accommodate changes in syntax or APIs. Xcode often provides tools to assist with migration.
4. How can I ensure my Swift code remains compatible with future versions?
To ensure compatibility with future versions of Swift, it’s essential to follow best practices, use recommended coding patterns, and stay updated on language changes. Testing your code regularly with the latest Swift version can also help identify potential issues early.
5. What are Swift’s versioning conventions?
Swift uses a three-part version number, such as “5.2.1”, where the first number represents the major version (e.g., 5), the second number represents the minor version (e.g., 2), and the third number represents the patch version (e.g., 1). Major versions often introduce significant changes, while minor versions may include enhancements and bug fixes.
6. Are Swift libraries and frameworks compatible across different versions?
Swift libraries and frameworks may require updates to maintain compatibility with newer Swift versions, especially if they use language features or APIs that have changed. Library authors typically release updates to ensure compatibility with the latest Swift releases.
7. How can I check Swift version compatibility for a library or framework?
Library and framework developers usually document the Swift versions they support in their documentation or README files. Additionally, package managers like Swift Package Manager (SPM) often specify compatible Swift versions in package manifests, making it easier to determine compatibility before integrating a dependency into your project.