Building and deploying iOS applications

iOS-Review

Introduction

iOS is one of the most popular mobile operating systems on the market, and for a good reason. It’s reliable, user-friendly, and packed with features that make developing and deploying applications a breeze. This blog post will discuss some of the best practices for building and deploying iOS applications. From understanding Apple’s development environment to testing and deploying your app, read on to learn everything you need to start iOS development.

What are iOS applications?
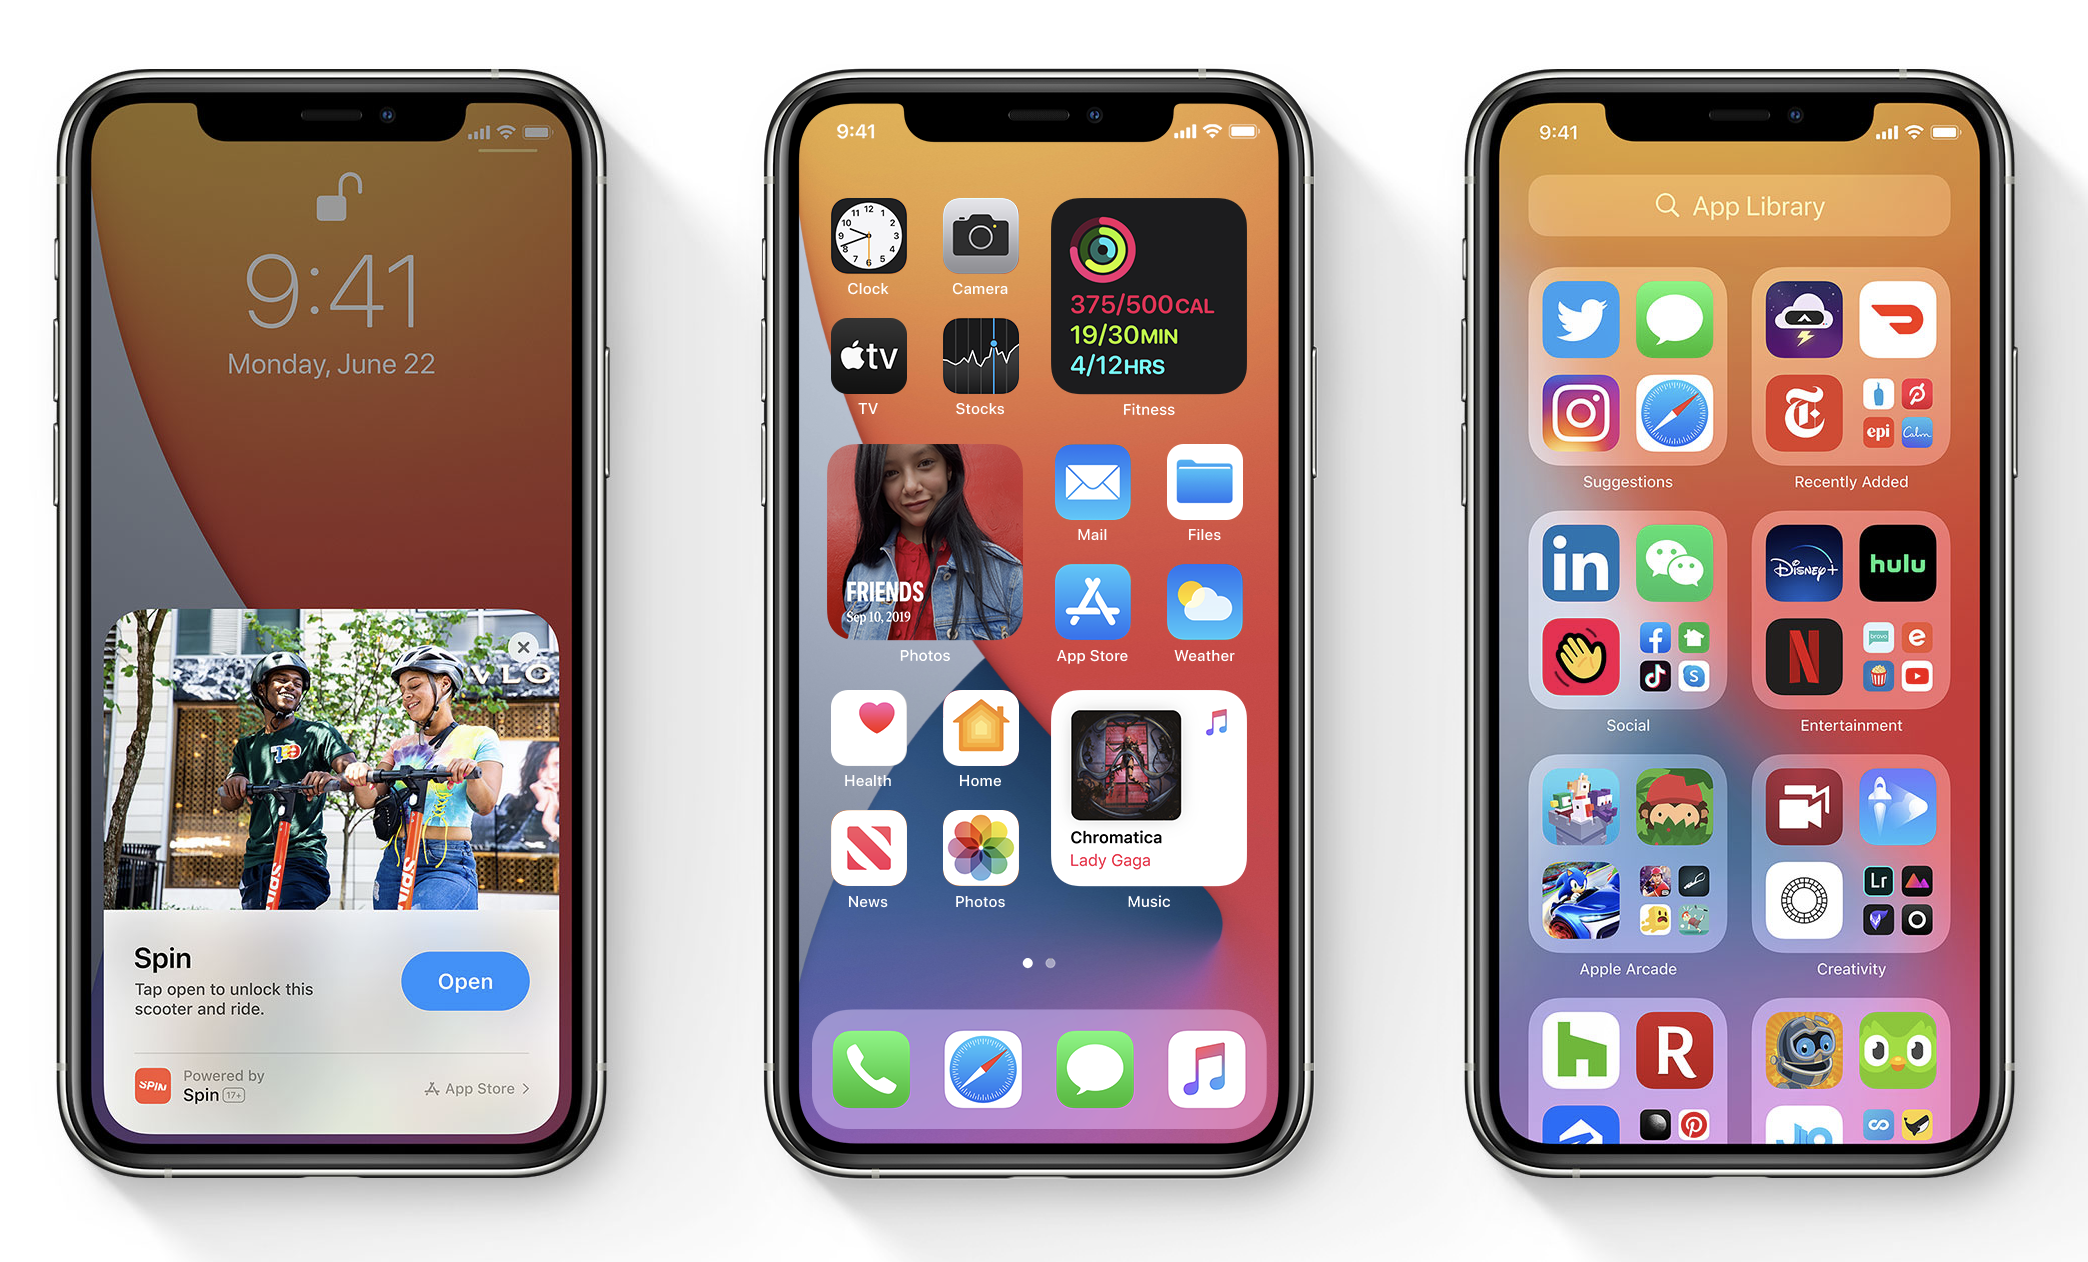
iOS 14 gets rid of the app grid to help you find the app you're looking for | TechCrunch

Image Source: Link

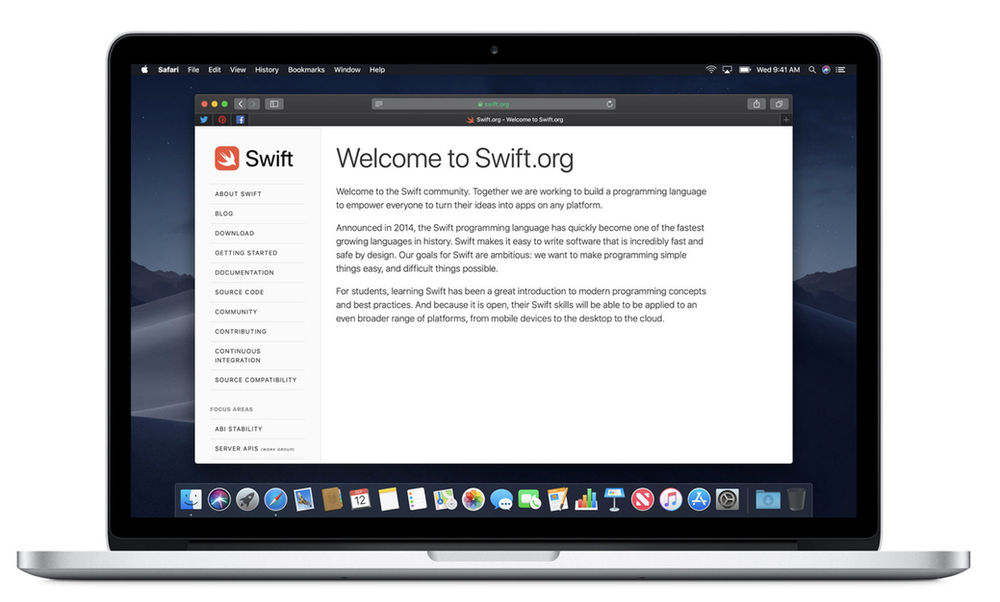
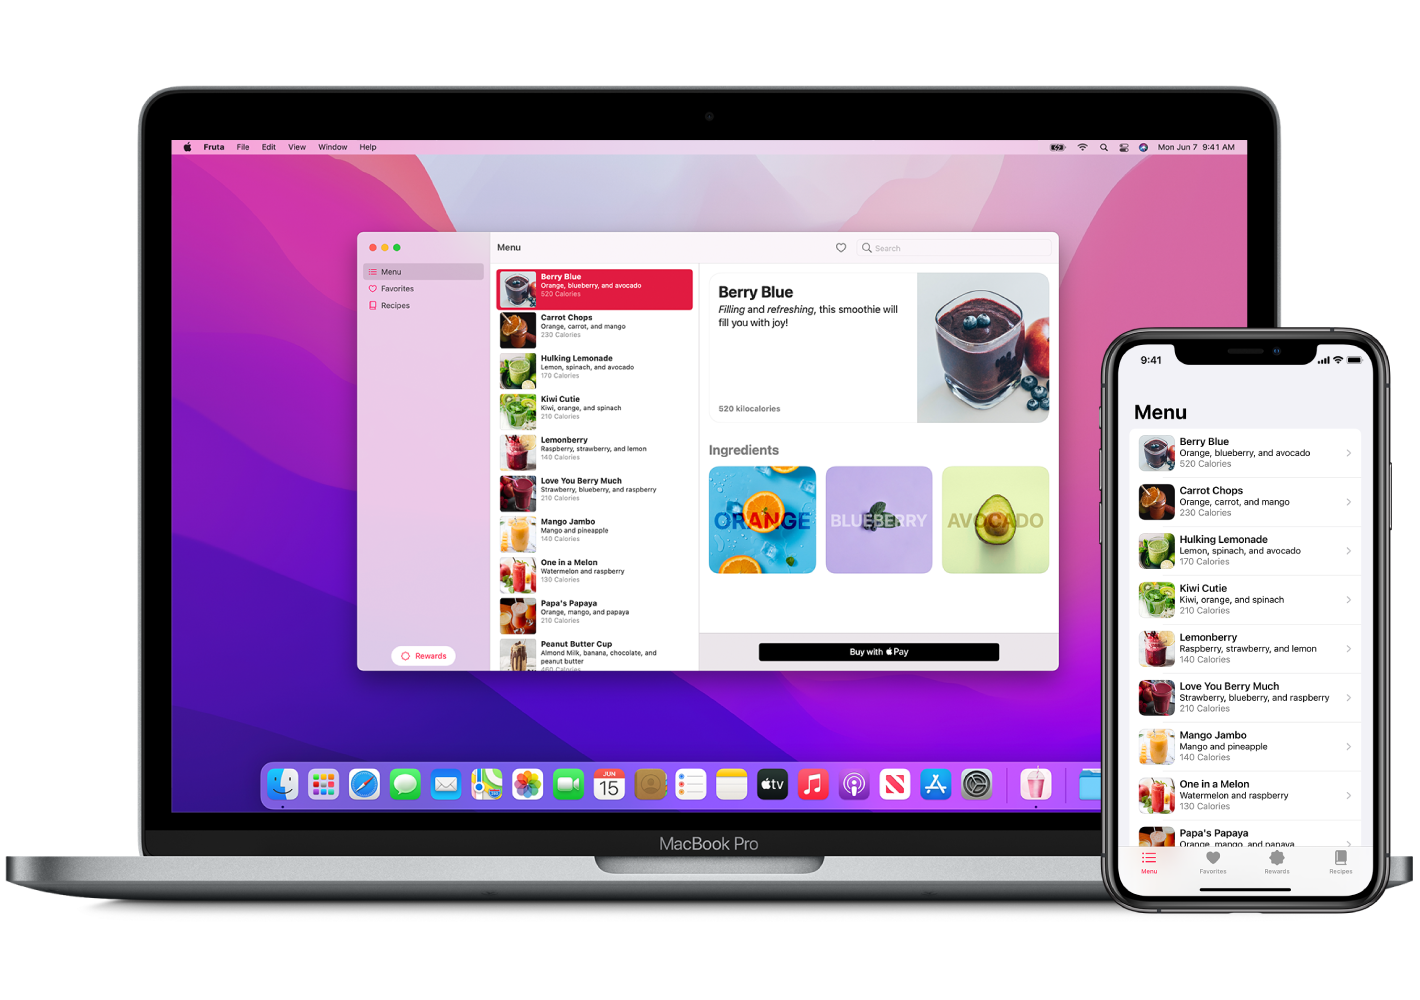
An iOS application is a mobile app that runs on the iOS operating system and you can download it from the App Store. iOS applications are designed to look and feel like their desktop counterparts, making it easy for users to switch between devices. Applications can be created in several programming languages, including Objective-C and Swift.

Once an application has been created, it must be compiled and submitted to the App Store for approval. Once approved, an application can be made available to users through the App Store. Users can download and install applications onto their devices using Apple’s iTunes software or third-party applications such as Appcelerator Mobile, which allow for installation directly onto mobile devices.

iOS applications are highly popular, with over 260 million active users as of September 2017. This popularity has led to several successful apps being released on the App Store, including Uber, Airbnb, and Slack.

How to build an iOS application?

The Best iOS-Only Apps | PCMag

Image Source: Link

There are a few different steps you need to take to build and deploy an iOS application. The first is to create a project in Xcode. You can use any language you like, but Objective-C is the default language for development on iOS.

Next, you need to set up your environment. This includes setting up an Apple ID and signing in to iCloud. Then you need to configure your project settings, including the target device and platform. Finally, you must write your code and test your application on a real device.

In this article, we’ll discuss each of these steps in detail.

How to deploy an iOS application?

iOS Applications can be installed on any Apple-approved device, including iPhones, iPads, and iPod touch devices.

Apple provides a number of tools and platforms to deploy your applications.

There are three main ways to deploy an iOS application: using the Xcode IDE, using the App Store Distribution Portal (ASDP), or using iTunes connect.

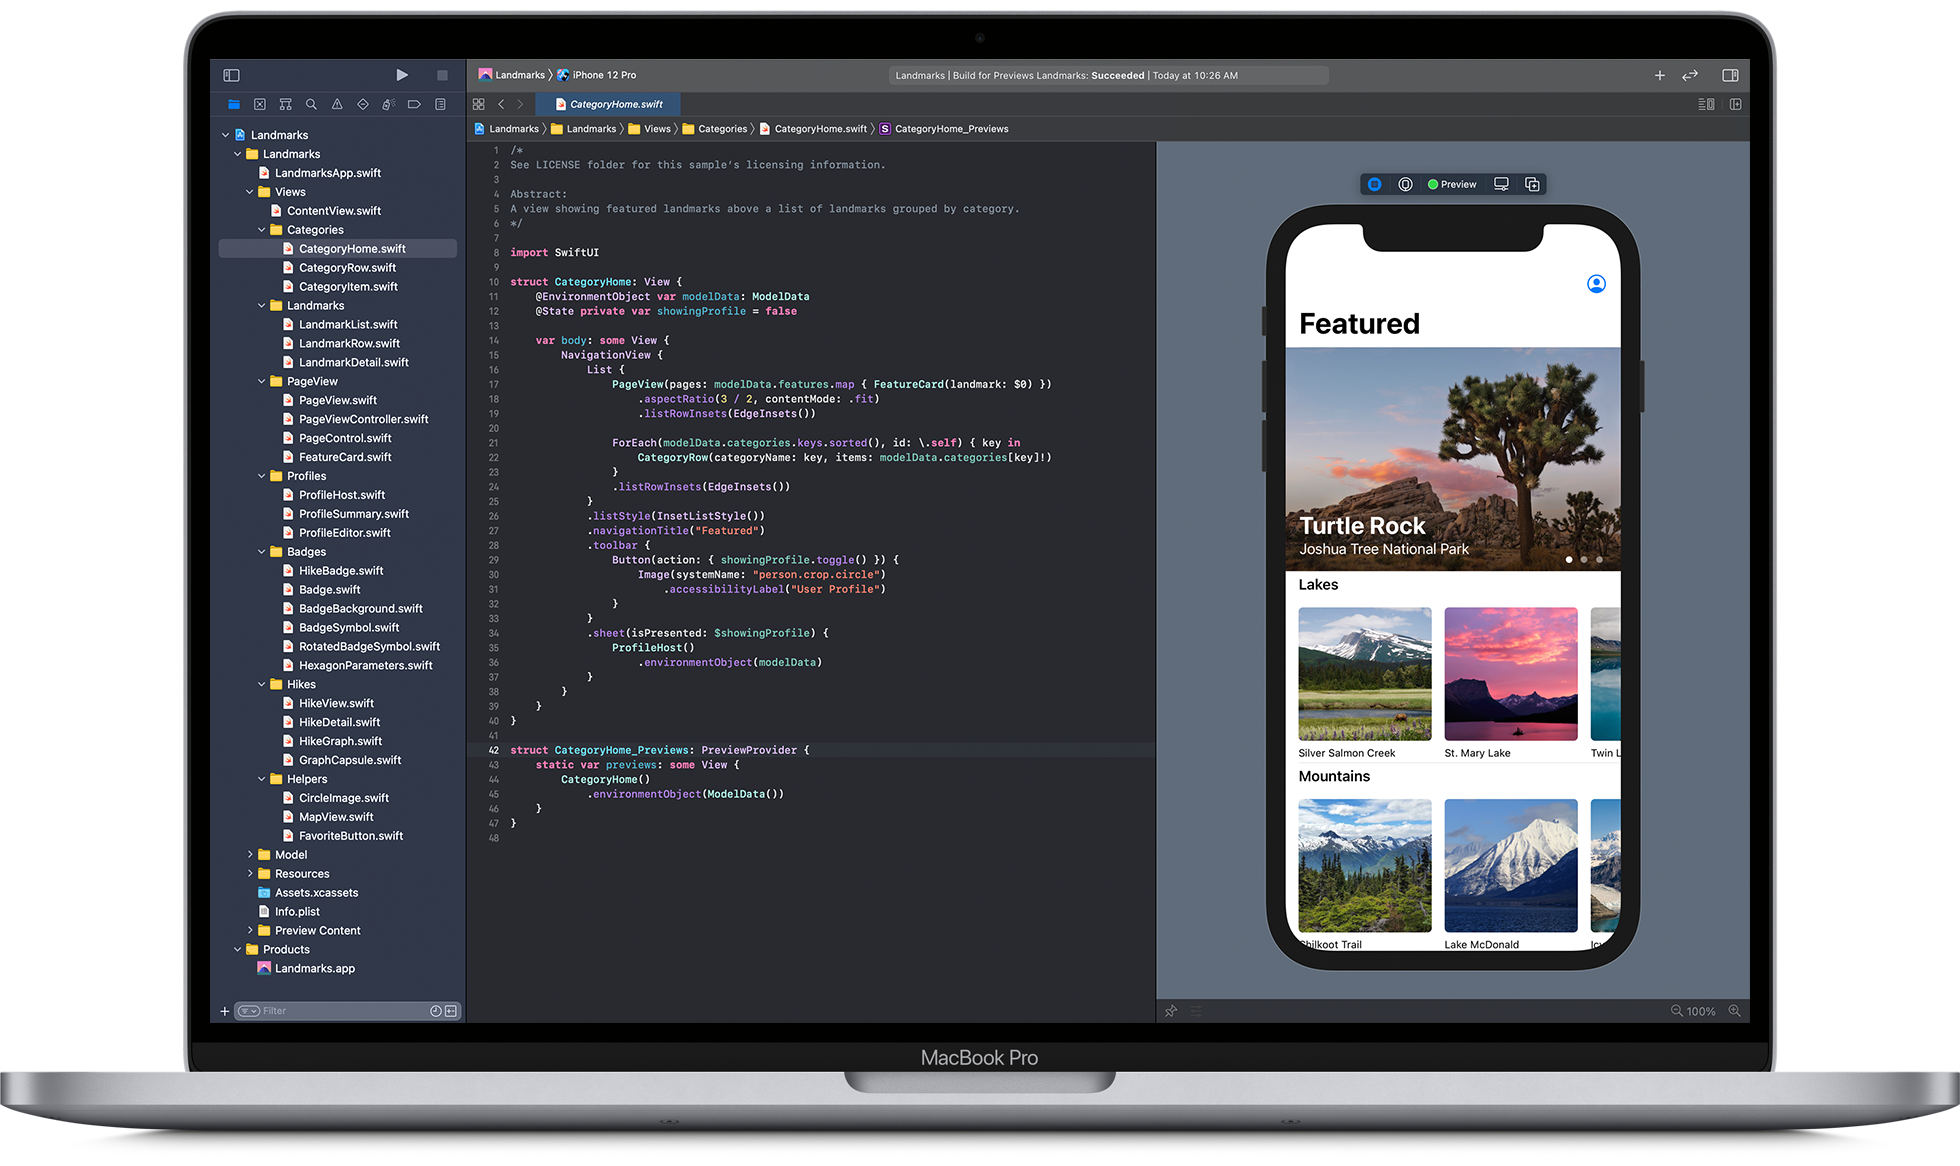
Xcode is the most popular tool for developers to develop and deploy their iOS applications. With Xcode, you can create a project, add files and folders, set up build settings, run the application on an iPhone or iPad simulator or a physical device, and more. To learn more about how to use Xcode, see the following resources:

The App Store Distribution Portal (ASDP) is a website provided by Apple that allows developers to upload their applications for distribution through the App Store. ASDP provides many features for developers including submission of apps for review and publication on the App Store. To learn more about how to use ASDP, see the following resources:

You can use iTunes connect for managing application data and updating users with new content or features in an app. Moreover, you can also use iTunes connect to push updates to devices that didn’t connect to Wi-Fi or cellular networks.

Conclusion

Building and deploying iOS applications can be a daunting task, but with the right tools and guidance it can be a relatively easy process. In this article, we have outlined some of the most important tools and resources that you will need in order to build and deploy your own iOS applications. We hope that this guide has helped you decide which approach is best for you and given you the confidence to start building your next great app!

FAQs

1. What are the steps to build and deploy an iOS app using Xcode?

Answer: To build and deploy an iOS app using Xcode, follow these steps:

  1. Create and Configure Your Project:
    • Open Xcode and create a new project using a suitable template.
    • Configure your project settings, such as the app’s name, bundle identifier, and team.
  2. Develop and Test Your App:
    • Write your app’s code, design the UI, and implement features.
    • Test your app using the iOS simulator or on physical devices to ensure it works as expected.
  3. Set Up App Signing:
    • Go to the “Signing & Capabilities” tab in your project settings.
    • Ensure your Apple ID is added to Xcode and select your team.
    • Xcode will automatically manage signing certificates and provisioning profiles.
  4. Build Your App:
    • Select your target device or simulator from the device selector.
    • Click the “Run” button (a play icon) to build and run your app on the selected device.
  5. Deploy to the App Store:
    • Archive your app by selecting Product > Archive.
    • Use the Xcode Organizer to validate and upload your app to App Store Connect.
    • Complete the necessary steps in App Store Connect to submit your app for review and release.

2. What are the requirements for deploying an app to the App Store?

Answer: To deploy an app to the App Store, you need:

  • Apple Developer Program Membership: Enroll in the Apple Developer Program, which provides the necessary tools and resources for app distribution.
  • App Store Connect Account: Use App Store Connect to manage your apps, upload builds, configure app metadata, and submit apps for review.
  • App Signing: Ensure your app is signed with valid certificates and provisioning profiles.
  • App Store Guidelines Compliance: Make sure your app complies with Apple’s App Store Review Guidelines, including design, functionality, and content requirements.
  • App Metadata: Prepare app metadata, such as the app name, description, keywords, screenshots, and promotional images.

3. How do I manage app signing and provisioning profiles in Xcode?

Answer: Xcode simplifies app signing and provisioning with automatic management:

  1. Automatic Signing:
    • In your Xcode project, go to the “Signing & Capabilities” tab.
    • Check the “Automatically manage signing” box.
    • Select your team from the dropdown menu. Xcode will handle the creation and management of certificates and provisioning profiles.
  2. Manual Signing (if needed):
    • Create and download the necessary certificates (Development and Distribution) from the Apple Developer website.
    • Create provisioning profiles for development and distribution and download them.
    • In Xcode, uncheck “Automatically manage signing” and manually select the appropriate provisioning profiles and certificates.

4. How do I handle different app environments (development, staging, production) in Xcode?

Answer: To handle different app environments in Xcode, you can use build configurations and schemes:

  1. Create Build Configurations:
    • In your project settings, go to the “Info” tab.
    • Duplicate the “Debug” and “Release” configurations to create new ones for staging and production.
  2. Configure Schemes:
    • Edit your existing scheme or create new schemes for each environment.
    • Associate each scheme with the corresponding build configuration (development, staging, production).
  3. Environment-Specific Settings:
    • Use different Info.plist files or configuration files for each environment.
    • Use preprocessor macros or environment variables to set environment-specific settings in your code.

5. What are common issues during app submission and how can I resolve them?

Answer: Common issues during app submission and their resolutions include:

  • App Rejection: Review the rejection reason provided by Apple and address the issues. Common reasons include guideline violations, bugs, crashes, and incomplete app metadata.
  • Invalid Binary: Ensure your app is correctly signed, and the build configuration is set to “Release.” Verify that all required assets, such as app icons and launch screens, are included.
  • Missing Permissions: Check that your app includes the necessary permissions in the Info.plist file, such as access to the camera, location, or microphone.
  • Metadata Issues: Ensure that all required metadata fields in App Store Connect are completed, and the information provided is accurate and adheres to Apple’s guidelines.
  • Build Errors: Use Xcode’s build logs and error messages to identify and resolve build issues. Ensure all dependencies are correctly integrated and up-to-date.

By following these steps and addressing common issues, you can streamline the process of building and deploying your iOS application.

Leave a Reply

Your email address will not be published. Required fields are marked *