App design is an art form in and of itself. And with the proliferation of different form factors for mobile devices, it’s more important than ever to be able to design applications that look great on all screens. In this blog post, we’ll take a look at some common form factors and discuss how you can design iOS applications that look great on each one. From phones to tablets to watches, we’ll cover it all. So read on and learn how to design iOS applications that look great on all screen sizes!
What is a view controller?
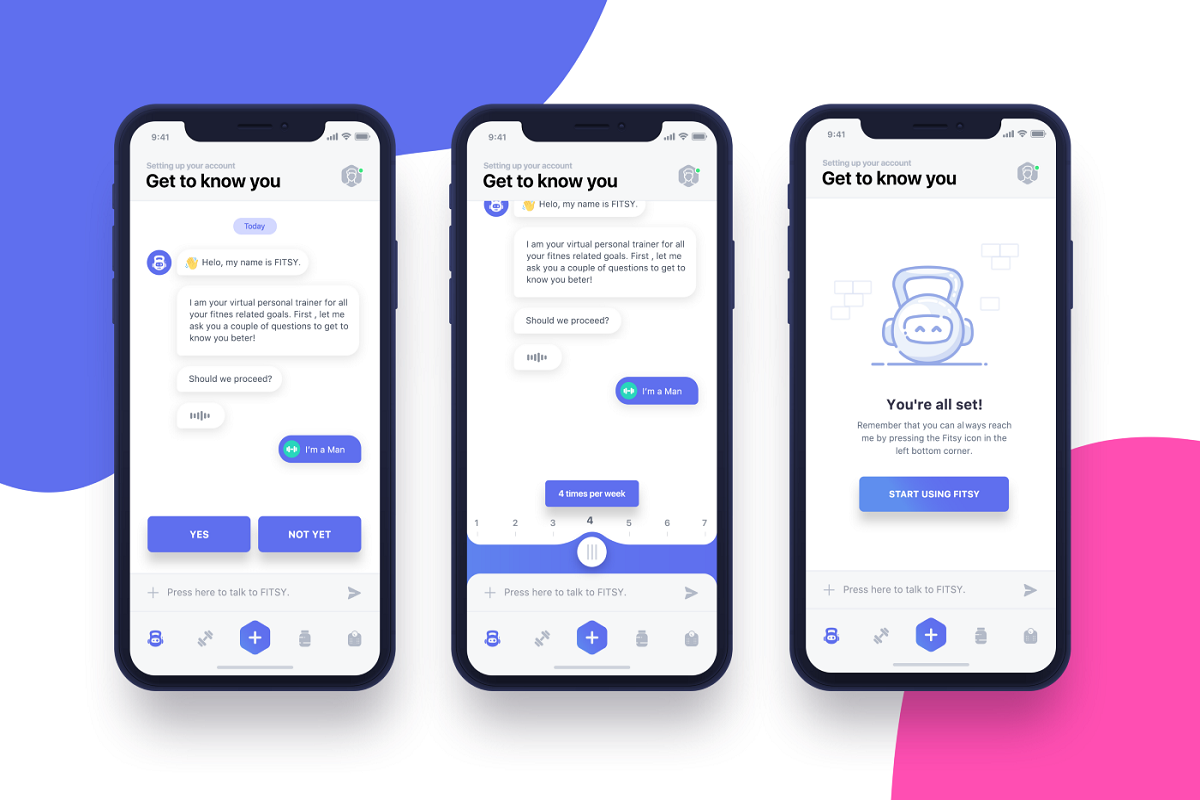
Image Source: Link
A view controller is a specialized object that manages the presentation of your application’s view, and it is responsible for ensuring that the user sees the proper content at any given time. This means that you need to design your view controllers carefully, depending on the form factor your application will be running on.
There are three main form factors in which iOS applications can be used: handheld devices such as iPhones and iPads, desktop applications running in a browser, and TV applications using Apple’s Remote app.
Handheld devices typically have smaller screens than desktop or TV devices, so you need to design your view controllers to take this into account. For example, your buttons should be compact and easy to tap with one hand. You should also make sure that all of the interface elements fit within the screen bounds, otherwise they will not be visible.
Desktop applications run in a web browser window on a computer, so you don’t have to worry as much about screen size. However, you should still consider how users will interact with your application on a desktop machine. For example, you might want to use larger buttons so that they are easier to press with two hands.
TV applications use the Remote app to control televisions. Because TVs vary considerably in size and capabilities, you must design your view controllers specially for TV usage. For example, your controls might be scaled down or hidden altogether if they are not needed on smaller screens.
What are the different types of view controllers?
There are three types of view controllers you will use in your iOS applications: UIViewController, MKMapView, and UILabel. Let’s take a closer look at each.
UIViewController is the most common type of view controller. It is a class that represents an entire view on the screen, typically including the content area, navigation bar, toolbar, status bar, and any other associated interface elements. You create one by creating a UIView subclass and delegating all the work to its own implementation of the UIView controller protocol. This means that you don’t need to worry about how to draw the contents of your view; all you need to do is implement the appropriate methods and delegate them to your subclasses.
MKMapView is a specialized type of view controller that is used for displaying maps in your application. Maps are made up of small squares (or cells) called “locations.” Each location has an identifier (a latitude and longitude), a title, and any annotations that you have added. When you request a map from the map provider framework (MFP), it generates an MKMapView instance for you with all of these pieces pre-populated. You simply set up your views within this mapview instance and handle any user interaction responsibilies (such as responding to taps on map locations).
How do I create a custom view controller?
If you’re designing an iOS application for a different form factor than the usual portrait- or landscape-oriented screens, you might want to create a custom view controller. A custom view controller is a subclass of UIViewController that holds specific configuration information pertaining to the view it renders onscreen. For example, if you’re creating an application that will be rendered in a popover window, you would create a class for your popover view controller and configure it accordingly.
The process of creating a custom view controller is fairly straightforward. First, you need to determine the information you’d like to include in your view controller’s configuration. This could involve anything from specifying the title of the window within which your view will be rendered to setting up delegate protocols and action methods specific to your particular scenario.
Once you have your desired information set up, all that remains is to create a class that conforms to UIViewController and implement the required methods. Once you have done this, you can simply add your new view controller to your project and begin rendering views onscreen using it as intended.
How do I handle navigation in my iOS applications?
Creating an effective navigational system is critical for iOS applications, as users will search for specific content across different screens. There are a few different ways to approach this, and the best approach depends on the specifics of your app.
One option is to use parallax scrolling. This creates the illusion of movement when scrolling through a list or grid of items, which can give the impression that content is changing dynamically even if it isn’t. You can enable parallax scrolling using Core Data’s Autorotation feature or by using one of CocoaPods’ available libraries.
You can also use tabs or stack views to organize your content. Tabs let you group related content together so that it’s easy to find, while stack views allow you to show multiple levels of information at once without displaying everything on screen at once. You can add stack views using Interface Builder or code, and you can control how much content is shown at a time using OrientationLock and autoresizingMask .
If you want to avoid relying on user input for navigation, you can use an embedded map or nav bar. Embedding a map lets you provide detailed customer location information or directions, while a nav bar provides quick access to frequently-used features like search and filters. You can create an embedded map using Core Location data or by using one of CocoaPods’ available libraries, and you can add a nav bar using either Interface Builder or code.
How do I create an interface for my iOS applications?
Creating an interface for an iOS application can be a daunting task. However, with some planning and the right tools, you can do it easily. There are a number of different ways to design an iOS application interface, but the most common approach is to use Interface Builder. Interface Builder allows you to create and preview your interface in a variety of different ways, as well as control how users interact with your application.
One of the main reasons to use Interface Builder is its ease of use. You can create your interface in stages, starting with basic elements and then adding more complexity as needed. This approach makes it easy to test your design before proceeding further. Additionally, Interface Builder includes a number of built-in mock objects that allow you to test interactions without actually developing any code.
Another important consideration when designing an iOS application interface is layout. Since devices typically have limited space, it is important to consider how users will interact with your app’s content. One way to do this is to use tab bars and menus for navigation. This approach keeps content modularized and easy to manage, regardless of how many screens the user encounters during their journey through your app.
When designing your iOS application’s interface, it is also important to take into account Apple’s Human Interface Guidelines (HIG). These guidelines govern all aspects of UI design, from button sizes and placementto text layout and color selection.
What are some common design patterns you can use in iOS applications?
Many iOS application designers have heard of, or use, the Model View Controller (MVC) pattern. However, there are other common design patterns used in iOS applications that you may not be aware of. In this article, we will discuss four common design patterns: the Observer Pattern, Singleton Pattern, Domain-Specific Language (DSL) Patterns, and Facade Pattern.
Observer Pattern
The Observer Pattern is a solution to the problem of coordinating multiple objects by allowing one object to notify its observers about changes that occur within it. To implement the observer pattern, create an object that serves as an interface for other objects to subscribe to. Whenever a change occurs within the observer, the subscriber object gets notified. Developers often use this pattern in situations where multiple layers of functionality need coordination, or one layer needs access to information held by another layer.
Singleton Pattern
The Singleton Pattern is a solution to the problem of creating and managing a single instance of an object throughout an application. The Singleton pattern’s sole purpose is to create a singleton instance of an object and keep track of it for reuse throughout the application. Developers often use this pattern when an object has only one possible implementation and needs to be accessible from all parts of the application.
Conclusion
There are a number of different iOS applications that you can design for use on a variety of different form factors. With the right understanding and design, it is possible to create an application that will look great on any device or screen size. If you want to know about designing iOS applications, we recommend reading our other blog posts on the subject before moving forward with your project. Doing so will help you to understand the various design considerations that you must take into account when creating an application for iPhone or iPad devices.